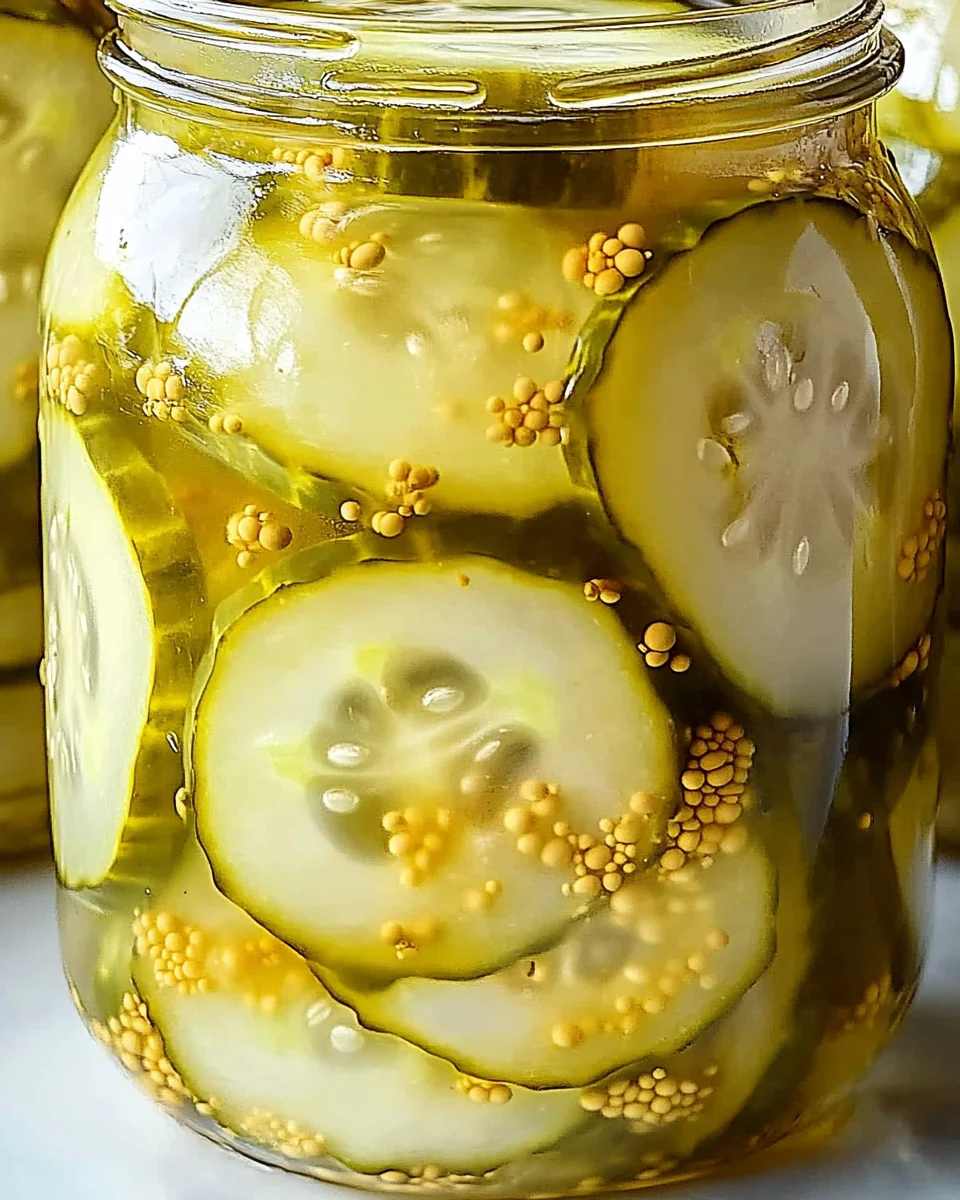
These bread and butter pickles are the perfect blend of sweet and sour, making them a delightful addition to any meal. They are not only easy to prepare but also versatile enough for various occasions, from summer barbecues to holiday gatherings. Enjoy them as a side with sandwiches, burgers, or simply as a tasty snack. Their unique flavor profile will surely impress your family and friends.
Why You’ll Love This Recipe
- Easy to Make: This recipe is straightforward and requires minimal effort.
- Great for Canning: Preserve these pickles for months or enjoy them fresh as refrigerator pickles.
- Versatile Flavor: The balance of sweet and tangy makes them a great complement to many dishes.
- Perfect for Gifting: Share homemade jars of these pickles with friends and family during holidays or special occasions.
- Healthy Snack Option: Low in calories, they provide a satisfying crunch without guilt.
Tools and Preparation
Before diving into making your bread and butter pickles, gather the necessary tools. Having everything ready will streamline the process.
Essential Tools and Equipment
- Canner
- Jars (pint-sized)
- Lids
- Jar lifters
- Funnels
- Colander
Importance of Each Tool
- Canner: Essential for safely processing your jars. It ensures proper sealing and preservation.
- Jars: Provides a container for your pickles, allowing for long-term storage.
- Jar Lifters: Keeps your hands safe when handling hot jars, preventing burns.
Ingredients
These bread and butter pickles are a sweet and sour pickle that can easily be canned for extended storage, or made into a batch of delicious refrigerator pickles.
For the Pickles
- 10 cups sliced cucumbers (Approx. 3 ¼ lbs or 1.48 kg. (¼” slices))
- 4 medium onions (thinly sliced)
- ½ cup pickling salt
For the Brine
- 3 1/2 cups white vinegar (minimum 5% acidity)
- 2 cups granulated sugar
- 2 tablespoons whole mustard seeds
- 1 teaspoon celery seeds
- 1 teaspoon ground turmeric
How to Make Bread and Butter Pickles
Step 1: Prepare the Cucumbers and Onions
- Add the sliced cucumbers to a very large non-reactive bowl (glass, ceramic, stainless steel).
- Add in the onions, and sprinkle with the canning salt.
- Stir well to combine and coat the cucumbers and onions with salt.
- Cover the bowl with a damp towel or plastic wrap and allow it to rest at room temperature for 2 hours.
Step 2: Prepare Your Canning Equipment
- With about 45 minutes left before the time is up, start preparing your jars, lids, and canner for canning.
- Wash all of your equipment (jars, rings, jar lifters, funnels, etc.) thoroughly.
- Fill your canner with water and bring it to a boil.
- Place your jars inside carefully (5-6 pint jars) and maintain a boil for 5-10 minutes.
Step 3: Heat Lids
- Add the canning lids to a small saucepan filled with water.
- Bring to a low simmer to keep them warm until they are needed.
Step 4: Rinse Vegetables
- Transfer the mixture of cucumbers and onions to a colander placed over the sink.
- Drain off any excess liquid while rinsing with cool running water to remove much of the salt from the vegetables.
Step 5: Prepare the Brine
- In a large stainless or nonreactive saucepan, add the vinegar, sugar, mustard seeds, celery seeds, and turmeric.
- Whisk together until combined; bring this mixture to a boil over medium-high heat while stirring often.
Step 6: Combine Vegetables with Brine
- Once boiling, stir in the drained cucumbers and onions.
- Return this mixture to a boil.
Step 7: Pack Jars
- Remove hot jars from canner; empty them of any water.
- Pack vegetables into hot jars leaving a generous ½ inch headspace at the top.
- Ladle liquid brine over vegetables ensuring they are covered.
Step 8: Seal Jars
- Use a butter knife or de-bubbler tool to remove air bubbles; add liquid if needed.
- Wipe rims clean with a towel before placing lids on each jar.
- Secure each jar with canning rings until fingertip tight.
Step 9: Process Jars
- Place each jar back into canner ensuring they are covered by at least 2 inches of water; add more hot water if necessary.
- Bring back to rapid boil; process jars for 10 minutes with lid in place.
Step 10: Cool Down
- Turn off heat after processing time; remove lid allowing jars to rest in canner for another 5 minutes.
- After resting period, carefully take out jars without disturbing them too much; let sit undisturbed for at least 24 hours.
After following these steps carefully, you’ll have delicious homemade bread and butter pickles ready for you! Enjoy their flavors after waiting just one week—or longer—for an even better taste experience!
How to Serve Bread and Butter Pickles
Bread and butter pickles are a delightful addition to many meals. Their sweet and tangy flavor pairs beautifully with a variety of dishes, making them versatile for any occasion.
On Sandwiches
- Classic Deli Sandwich: Layer them on your favorite deli meat sandwich for added crunch and flavor.
- Grilled Cheese: Add slices to your grilled cheese for a surprising twist that enhances the creamy goodness.
With Charcuterie Boards
- Cheese Pairing: Include bread and butter pickles alongside assorted cheeses for a balanced taste experience.
- Cured Meats: Serve these pickles with salami or prosciutto to complement the savory flavors.
As a Snack
- Straight from the Jar: Enjoy them cold right out of the refrigerator as a quick, satisfying snack.
- With Crackers: Serve with cream cheese spread on crackers for a nice appetizer.
In Salads
- Potato Salad: Chop and mix into potato salad for an extra layer of flavor.
- Coleslaw: Incorporate diced pickles into coleslaw for a refreshing crunch.
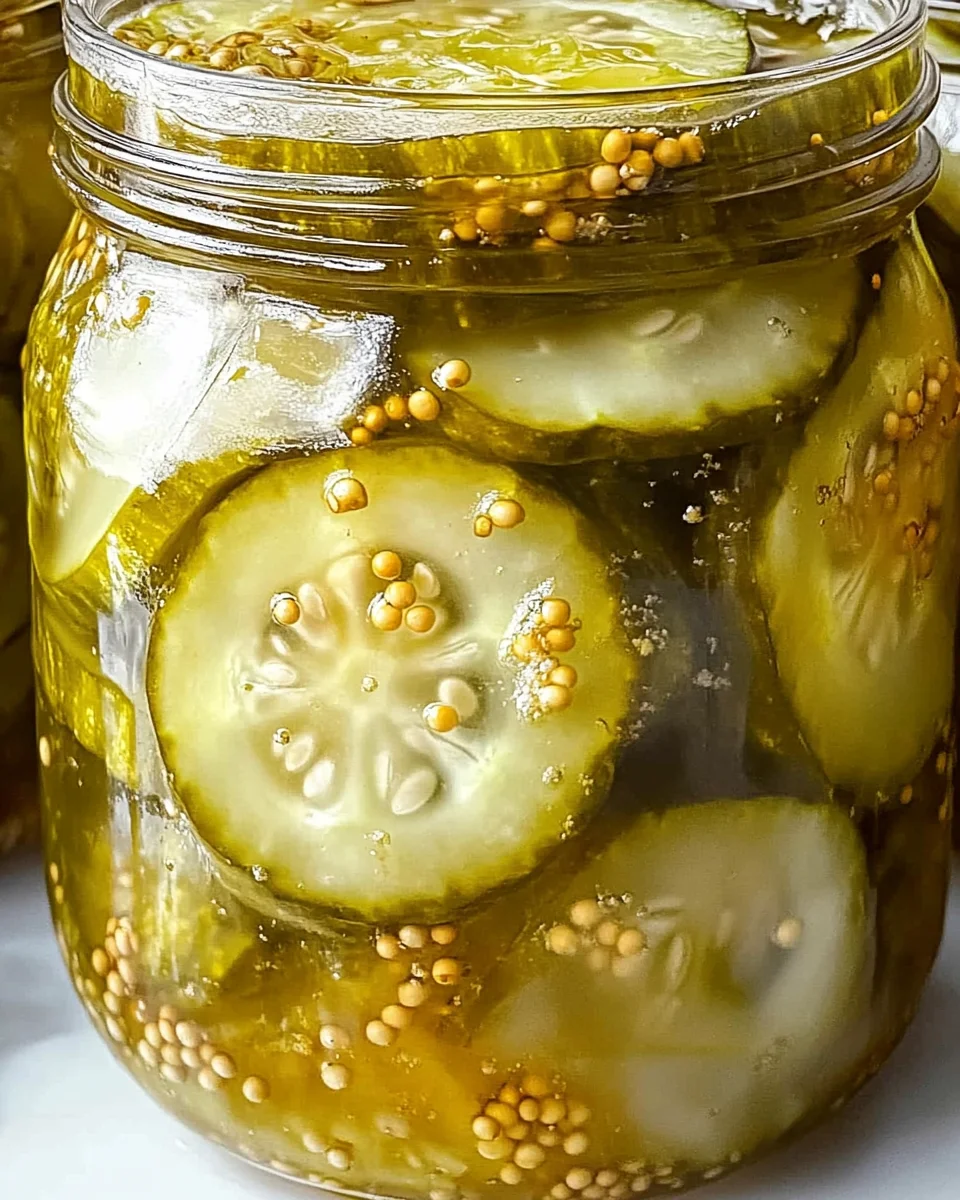
How to Perfect Bread and Butter Pickles
To achieve the best bread and butter pickles, follow these handy tips that will elevate your recipe.
- Use Fresh Cucumbers: Choose firm cucumbers without blemishes for the best texture.
- Adjust Sweetness: Feel free to tweak the sugar amount based on your personal preference for sweetness.
- Control Spice Levels: Add more mustard seeds or even chili flakes if you desire extra heat.
- Let Them Sit: Allowing the pickles to rest after canning enhances their flavor; patience is key!
- Check Seals Properly: Ensure that all jars have sealed correctly by pressing down in the center of each lid; if it pops back, refrigerate immediately.
Best Side Dishes for Bread and Butter Pickles
Bread and butter pickles make an excellent accompaniment to many side dishes, enhancing your meals with their unique flavor profile.
- Fried Chicken: The tangy sweetness complements crispy fried chicken perfectly.
- Baked Beans: Serve alongside baked beans for a hearty meal full of contrasting tastes.
- Potato Wedges: Crispy potato wedges pair well with pickles, adding zest to every bite.
- Cornbread: The sweetness of cornbread goes hand in hand with the tartness of these pickles.
- Macaroni Salad: A creamy macaroni salad is elevated by the addition of sweet, crunchy pickles.
- Coleslaw: Refreshing coleslaw is even better when served with bread and butter pickles on the side.
Common Mistakes to Avoid
When making bread and butter pickles, it’s easy to make mistakes that can affect the flavor and preservation of your pickles. Here are some common pitfalls to watch out for.
- Ignoring the salt – Not salting the cucumbers properly can lead to watery pickles. Always sprinkle the canning salt evenly and allow it to sit for the required time.
- Skipping the rinsing step – Failing to rinse off excess salt after soaking can result in overly salty pickles. Make sure to rinse thoroughly under cool running water.
- Not using enough vinegar – Insufficient vinegar can compromise preservation. Ensure you use at least 3 1/2 cups of vinegar for the brine.
- Overcrowding jars – Packing too many cucumbers into jars may prevent proper sealing. Leave adequate headspace and pack them gently.
- Neglecting processing time – Skipping or shortening the processing time can lead to spoilage. Follow the 10-minute processing rule strictly for safety.
Storage & Reheating Instructions
Refrigerator Storage
- Store bread and butter pickles in an airtight container.
- They will last up to 3 months when refrigerated.
Freezing Bread and Butter Pickles
- Freezing is not recommended as it affects texture; however, if necessary, use freezer-safe containers.
- Consume within a year for best quality.
Reheating Bread and Butter Pickles
- Oven – Preheat to 350°F (175°C) and warm in a baking dish covered with foil for about 15-20 minutes.
- Microwave – Heat in short bursts of 30 seconds, stirring in between until warmed through.
- Stovetop – Warm over low heat in a saucepan, stirring occasionally until heated.
Frequently Asked Questions
Here are some common questions regarding bread and butter pickles.
What are Bread and Butter Pickles?
Bread and butter pickles are sweet and tangy pickled cucumbers typically made with sugar, vinegar, and spices, perfect for sandwiches or snacks.
How long do Bread and Butter Pickles last?
When stored properly in the refrigerator, homemade bread and butter pickles can last up to 3 months.
Can I customize Bread and Butter Pickles?
Absolutely! You can add spices like dill or garlic for different flavors or adjust the sugar level for sweetness preference.
Is it safe to process Bread and Butter Pickles without a water bath?
No, it’s important to process them using a water bath canner to ensure they seal properly and remain safe for consumption.
Final Thoughts
These bread and butter pickles offer a delightful balance of sweetness and tanginess that makes them perfect for any meal. With simple ingredients and customizable options, you can make this recipe your own. Don’t hesitate to experiment with different spices or levels of sweetness to find your perfect pickle!

Bread and Butter Pickles
- Total Time: 50 minutes
- Yield: About four pint jars (16 servings) 1x
Description
These bread and butter pickles are a delightful balance of sweet and tangy flavors, making them an irresistible addition to any meal. Perfect for summer barbecues or cozy holiday gatherings, these easy-to-make pickles can elevate sandwiches, burgers, or serve as a crunchy snack straight from the jar. The unique flavor profile will impress friends and family alike. Whether you’re canning for long-term storage or preparing refrigerator pickles for immediate enjoyment, this recipe is versatile enough to suit your needs.
Ingredients
- 10 cups sliced cucumbers (approx. 3 ¼ lbs)
- 4 medium onions (thinly sliced)
- ½ cup pickling salt
- 3 1/2 cups white vinegar
- 2 cups granulated sugar
- 2 tablespoons mustard seeds
- 1 teaspoon celery seeds
- 1 teaspoon turmeric
Instructions
- In a large bowl, combine sliced cucumbers and onions with pickling salt; stir well and let sit covered for 2 hours.
- Prepare canning jars by boiling them in a water bath for about 5-10 minutes.
- Rinse salted cucumbers and onions under cold water in a colander to remove excess salt.
- In a saucepan, mix vinegar, sugar, and spices; bring to a boil.
- Stir in drained cucumbers and onions; boil again briefly.
- Pack hot jars with the mixture, leaving a ½ inch headspace. Pour brine over vegetables and seal properly.
- Process jars in boiling water for 10 minutes; let cool for at least 24 hours before enjoying.
- Prep Time: 30 minutes
- Cook Time: 20 minutes
- Category: Condiment
- Method: Canning
- Cuisine: American
Nutrition
- Serving Size: 1/4 cup (60g)
- Calories: 45
- Sugar: 9g
- Sodium: 390mg
- Fat: 0g
- Saturated Fat: 0g
- Unsaturated Fat: 0g
- Trans Fat: 0g
- Carbohydrates: 11g
- Fiber: 0g
- Protein: <1g
- Cholesterol: 0mg



Leave a Comment