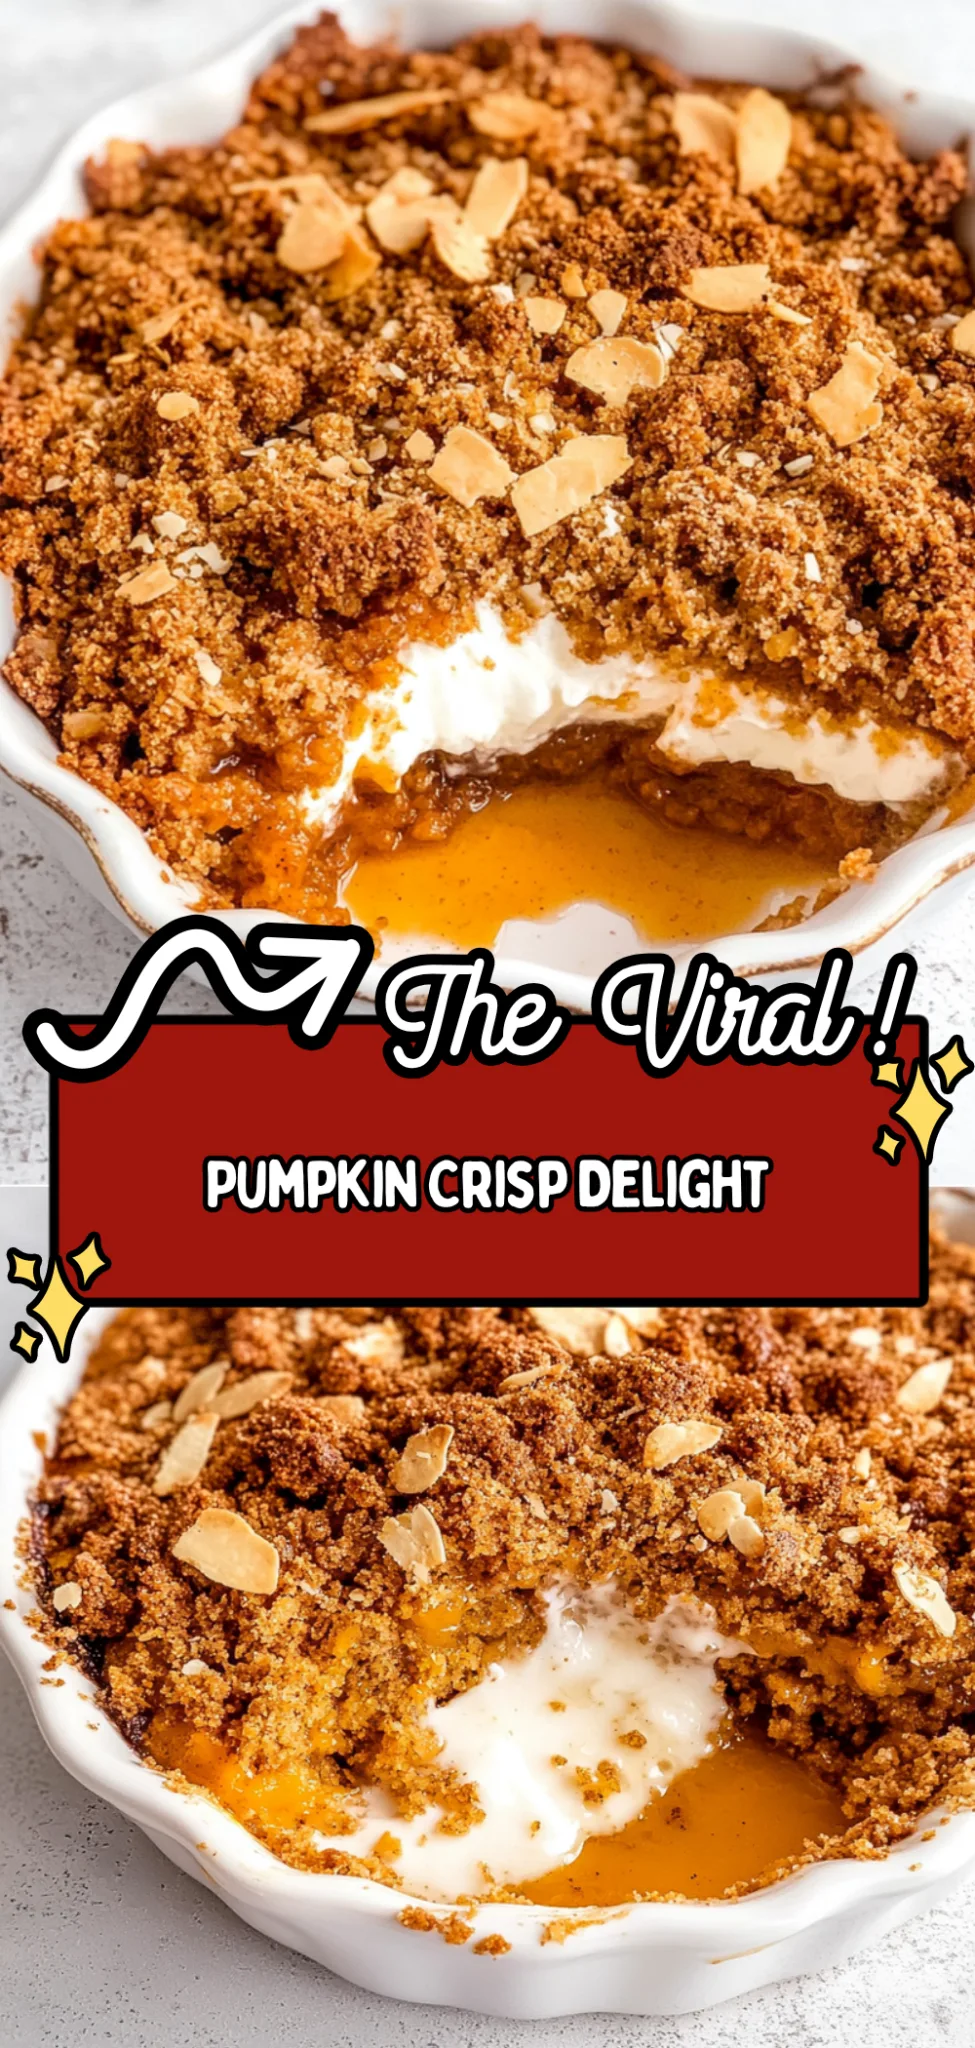
The moment you lift a spoonful of Pumpkin Crisp, the warm aroma of spiced pumpkin fills the air, inviting you to indulge in its comforting allure. The luscious filling, nestled beneath a golden, crunchy oat and brown sugar topping, offers a delightful contrast in textures that dances on your palate—perfect for cozy gatherings or quiet evenings when you crave something sweet yet satisfying.
What truly sets this Pumpkin Crisp apart is the harmonious blend of cinnamon and nutmeg that infuses each bite with warmth and nostalgia, reminiscent of autumn celebrations. Paired with a dollop of freshly whipped cream or a scoop of vanilla ice cream, this dessert becomes a centerpiece that brings loved ones together around the table. Embrace the joy of sharing as you savor this delightful treat that feels like home.
Why You’ll Love This Pumpkin Crisp
This Pumpkin Crisp is a true celebration of fall flavors, effortlessly combining the creamy richness of spiced pumpkin filling with a satisfyingly crunchy oat and brown sugar topping. The warmth of cinnamon and nutmeg envelops your senses, while the luscious vanilla extract adds a delightful depth that enhances each bite. As the golden topping bakes to perfection, it creates a beautiful contrast in texture that makes every spoonful an indulgent experience. The aroma wafting through your kitchen will have everyone eagerly anticipating dessert, making it an irresistible treat you’ll want to whip up again and again!
What Kind of Pumpkin Puree Should I Use?
For this Pumpkin Crisp recipe, it’s best to use canned pumpkin puree, as it provides a smooth texture and rich flavor that perfectly complements the spices and sweetness in the filling. Canned pumpkin is specifically formulated for baking, making it thicker and more concentrated than fresh pumpkin puree, ensuring that your dessert maintains the right consistency without excess moisture. If you decide to use fresh pumpkin instead, be sure to roast and puree it until smooth, but keep an eye on the moisture content; you may need to adjust the sugar or cooking time slightly to account for any added water content from the fresh pumpkin.
Ingredients You’ll Need
Each ingredient in this dish plays an essential role in flavor and texture. Here’s what you’ll need:
- 1 can pumpkin puree (15 oz): Provides a creamy base with rich pumpkin flavor.
- 1 cup sugar (adjust to taste): Balances the spices and enhances sweetness.
- 1 teaspoon cinnamon: Infuses warm, aromatic spice notes throughout.
- 1 teaspoon nutmeg: Adds a warm, slightly sweet depth to the filling.
- 1 teaspoon vanilla extract: Elevates the overall flavor with a hint of sweetness.
- 2 large eggs: Acts as a binder, giving structure to the filling.
- 1 cup old-fashioned oats: Contributes a chewy texture and hearty element.
- 1 cup brown sugar (packed): Creates a rich sweetness and caramel-like flavor.
- 1/2 cup all-purpose flour: Helps to bind the topping and adds crunch.
- 1/2 cup unsalted butter (melted): Provides moisture and richness to the crisp topping.
- 1/2 teaspoon salt: Enhances all flavors, balancing sweetness and richness.
How To Make the Pumpkin Crisp
Combine the Pumpkin Filling
In a mixing bowl, combine 1 can of pumpkin puree, 1 cup of sugar, 1 teaspoon of cinnamon, 1 teaspoon of nutmeg, 1 teaspoon of vanilla extract, and 2 large eggs. Use a whisk or electric mixer to blend the ingredients until the mixture is completely smooth and creamy. This step is crucial as it ensures an even distribution of flavors throughout your pumpkin filling.
Pour into Baking Dish
Once your pumpkin mixture is well combined, pour it into a greased baking dish, spreading it evenly with a spatula. Make sure to use a dish that’s large enough to hold all of the filling without overflowing during baking. This will help it cook evenly and create that perfect texture.
Prepare the Crisp Topping
In another bowl, mix together 1 cup of old-fashioned oats, 1 cup of packed brown sugar, 1/2 cup of all-purpose flour, 1/2 cup of melted unsalted butter, and 1/2 teaspoon of salt. Stir until all ingredients are well combined and crumbly in texture. The key here is to ensure that the melted butter coats the dry ingredients well, creating those delicious crunchy bits.
Sprinkle Over Pumpkin Filling
Evenly sprinkle the oat mixture over the pumpkin filling in the baking dish. Make sure to cover it thoroughly for a uniform topping that will bake up nicely. This layer adds a delightful crunch to contrast with the smooth pumpkin underneath.
Preheat the Oven
Preheat your oven to 350°F (175°C) before placing your dish inside. This step is essential for achieving that golden-brown topping while ensuring the pumpkin filling cooks through properly. Preheating allows for even cooking from the start.
Bake Until Golden Brown
Place your baking dish in the preheated oven and bake for about 30 minutes or until the topping turns a beautiful golden brown. Keep an eye on it during the last few minutes; you want to achieve a crisp texture without overbaking. A toothpick inserted into the pumpkin filling should come out clean when it’s ready.
Cool Before Serving
After baking, let your Pumpkin Crisp cool for a few minutes before serving. This cooling time allows the layers to set slightly, making it easier to cut into squares when you’re ready to serve. Enjoy this warm or at room temperature for a delightful dessert experience!
How to Serve and Store Pumpkin Crisp
This scrumptious Pumpkin Crisp serves 4 and is perfect for cozy gatherings or a comforting family dessert. To serve, scoop out generous portions into bowls and top with a dollop of whipped cream or a scoop of vanilla ice cream, allowing the creamy textures to contrast beautifully with the crunchy topping. For an extra touch, sprinkle a pinch of cinnamon on top to enhance that warm spiced aroma.
To store leftovers, transfer any uneaten Pumpkin Crisp into an airtight container and keep it in the refrigerator for up to 3 days. When you’re ready to enjoy it again, reheat individual servings in the microwave for about 30 seconds on medium power, adding a splash of water or milk if needed to maintain moisture without compromising the delightful crispiness on top. While this dessert is best enjoyed fresh, it can be frozen; just be aware that the topping may lose some crunch after thawing.
What to Serve With Pumpkin Crisp
Creamy Mashed Potatoes
The velvety texture of creamy mashed potatoes beautifully balances the crunchy topping of the Pumpkin Crisp, creating a delightful contrast.
Honey Glazed Carrots
Sweet and slightly caramelized, honey glazed carrots enhance the warm spices of the pumpkin filling while adding a pop of color to your plate.
Rustic Bread Rolls
Soft and fluffy, rustic bread rolls are perfect for soaking up the sweet flavors of Pumpkin Crisp, making each bite even more indulgent.
Spinach Salad with Cranberries
A fresh spinach salad with tangy cranberries provides a refreshing contrast to the rich pumpkin dessert, cutting through its sweetness with vibrant acidity.
Roasted Brussels Sprouts
The crispy exterior and earthy flavor of roasted Brussels sprouts complement the warm spices in Pumpkin Crisp, adding depth to your meal.
Vanilla Ice Cream
A scoop of creamy vanilla ice cream melts perfectly over the warm Pumpkin Crisp, offering a luxurious creamy element that enhances every spiced bite.
Frequently Asked Questions
Can I use a different type of sweetener instead of sugar?
Yes, you can substitute the sugar with alternatives like brown sugar or coconut sugar, just keep in mind it may alter the flavor slightly. Adjust the amount according to your taste preference.
Is this Pumpkin Crisp recipe gluten-free?
To make this recipe gluten-free, simply replace the all-purpose flour with a gluten-free flour blend. Ensure that your oats are certified gluten-free as well.
Can I make this Pumpkin Crisp ahead of time?
Absolutely! You can prepare the pumpkin filling and crisp topping separately in advance, then assemble and bake when you’re ready to serve. This way, you’ll save time on busy days.
How do I know when my Pumpkin Crisp is done baking?
Your Pumpkin Crisp is done when the topping turns golden brown and a toothpick inserted into the center comes out clean. If the topping browns too quickly, you can cover it loosely with foil while baking.
Can I add more spices for extra flavor?
Definitely! Feel free to increase the cinnamon and nutmeg or add spices like ginger or allspice for more depth. Just be mindful not to overpower the pumpkin flavor.
Final Thoughts
There’s something truly special about Pumpkin Crisp that makes it a must-try dessert, with its spiced pumpkin filling paired perfectly with a crunchy oat and brown sugar topping. If you love this recipe, you might also enjoy our [Apple Crumble] or [Maple Pecan Pie], which offer similar comforting flavors to delight your taste buds. Be sure to save this recipe on Pinterest and share your delightful creations with us in the comments—we can’t wait to see how you make it your own!
Leave a Comment