What a delight it is to share with you one of my all-time favorite recipes: Apple Pie! This isn’t just a recipe; it’s a warm embrace of nostalgia, a cherished memory wrapped in flaky crust and filled with sweet, tart apples. Imagine the aroma wafting through your kitchen as you bake—cinnamon mingling with the sweet scent of caramelizing apples, creating an atmosphere that feels like home. For me, every bite is a symphony of flavors that sings of comfort, family gatherings, and those crisp autumn days when the leaves are painted in shades of orange and gold. I promise you, this Apple Pie will not only satisfy your sweet tooth but also fill your heart with warmth.
Now, let’s dive into this culinary adventure together! Making an apple pie from scratch might seem intimidating at first glance, but trust me, it’s easier than it looks—especially when you’re using a store-bought crust to simplify things. You’ll find that baking this pie is not just about the end result; it’s about the joy of creating something delicious with your own hands. As we prepare this classic American dessert, feel free to get creative and make it your own. Perhaps you’ll add a sprinkle of nutmeg or a handful of raisins for added flavor! The possibilities are as endless as your imagination.
Apple Pie: A Slice of Heaven in Every Bite
There’s something truly magical about Apple Pie; perhaps it’s the way it brings people together or how each slice tells a story of tradition passed down through generations. Whether you’re enjoying it on a cozy fall evening or serving it at a family gathering, this pie has an extraordinary ability to evoke feelings of love and belonging. It’s more than just dessert; it’s an experience—a celebration of life’s simple pleasures. And let’s be honest, there’s nothing quite like indulging in a slice while it’s still warm from the oven, paired perfectly with a scoop of creamy vanilla ice cream or fluffy whipped cream.
So grab your apron and let’s embark on this delightful journey together! This easy Apple Pie recipe comes together quickly, making it perfect for any occasion—be it an impromptu gathering or simply treating yourself because you deserve it. Remember, cooking should be fun! So don’t hesitate to experiment and make this pie uniquely yours.
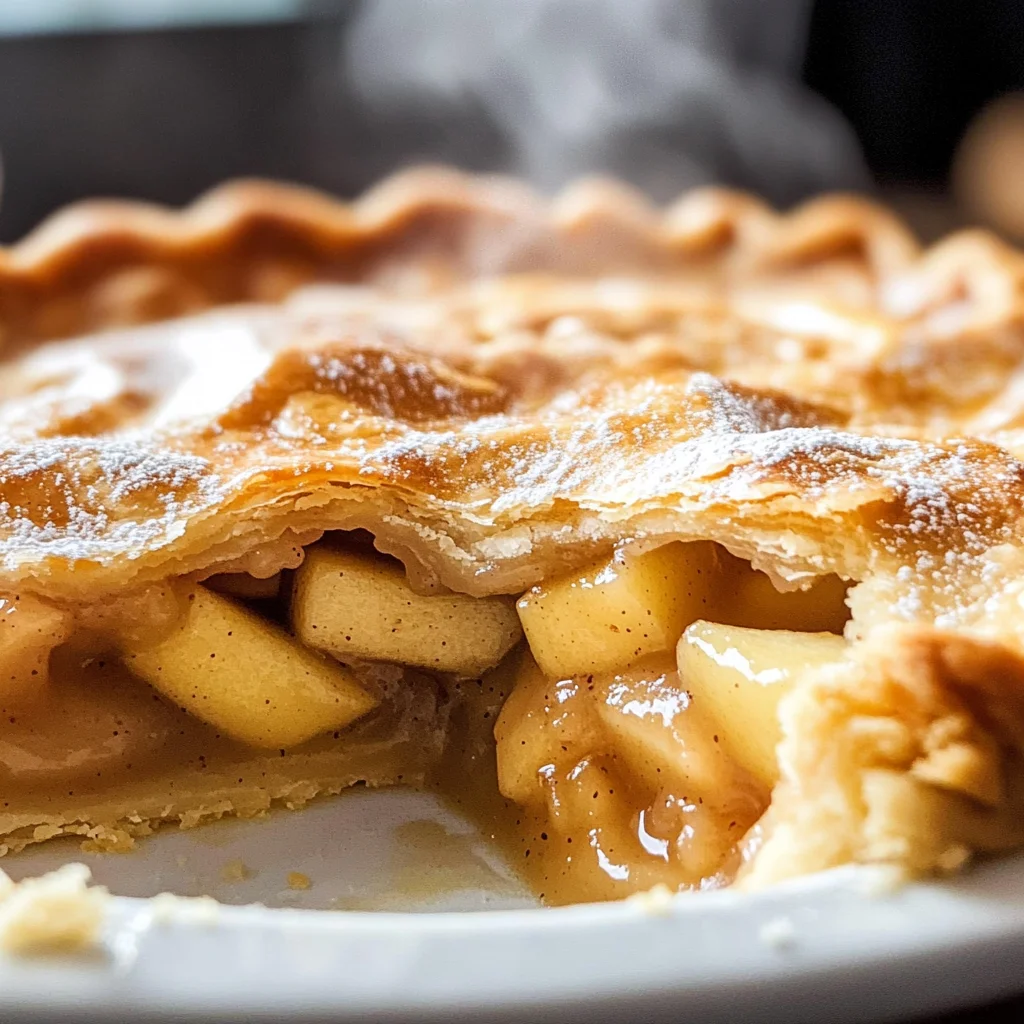
Ingredients:
As we gather our ingredients for this delightful Apple Pie, consider each item as an essential note in our culinary symphony.
- 1/2 cup sugar: This ingredient serves as the foundation of sweetness in our filling. It enhances the natural sugars present in our apples while balancing out their tartness. When shopping for sugar, look for granulated white sugar which dissolves easily into the filling and ensures even sweetness throughout every slice.
- 1/2 cup packed brown sugar: Brown sugar adds depth and complexity to our pie filling with its rich molasses undertones. It brings warmth to our dish that pairs perfectly with cinnamon and nutmeg. When measuring brown sugar, pack it firmly into your measuring cup so you capture that delightful moisture which contributes to the overall mouthfeel.
- 3 Tablespoons all-purpose flour: Flour acts as the binding agent here; it thickens our filling by absorbing excess juices released by the apples during baking. This is crucial because we want our pie filling to be beautifully cohesive rather than soupy. If you’re looking for gluten-free options, you might try almond flour or a gluten-free flour blend.
- 1 teaspoon ground cinnamon: Ahh, cinnamon—the spice that elevates apple pie from ordinary to extraordinary! It brings warmth and aromatic richness that complements the sweetness of the apples wonderfully. Always choose fresh ground cinnamon if possible; its flavor diminishes over time.
- 1/4 teaspoon ground ginger: Ginger adds an exciting zing to our pie filling—a subtle kick that balances perfectly with sweet apples and warm spices. While fresh ginger can be used for its robust flavor, ground ginger provides convenience without compromising taste.
- 1/4 teaspoon ground nutmeg: Nutmeg has a unique ability to enhance flavors without overpowering them. Just a pinch goes a long way! Its warm aroma rounds out our spice profile beautifully and adds complexity that makes each bite memorable.
- 6 to 7 cups thinly sliced peeled tart apples: The stars of our show! Tart apples like Granny Smith are ideal because they hold their shape during baking while providing just the right amount of acidity to balance sweetness. Make sure to slice them evenly so they cook uniformly—this ensures every forkful has the perfect texture!
- 1 Tablespoon lemon juice: Lemon juice brightens up our filling while preventing our beautiful apple slices from browning too quickly—a little trick I always use! The acidity plays nicely against the sugars and spices within the pie.
- Store Bought Pie Crust – 2 rounds: Using pre-made pie crust saves us time without sacrificing taste! Look for high-quality brands made with real ingredients; they often have better texture and flavor compared to others due to their buttery goodness.
- 1 Tablespoon butter: Butter adds richness and enhances flavor in our apple filling as it melts while baking—creating those lovely pockets of gooey goodness throughout every slice!
- 1 large egg white: Beating egg white until foamy provides shine to our crust while helping achieve that golden brown color we all crave when biting into fresh-baked pie.
- Additional sugar: For sprinkling on top before baking—this tiny step creates beautiful caramelization on the crust’s surface which not only looks stunning but offers additional sweetness!
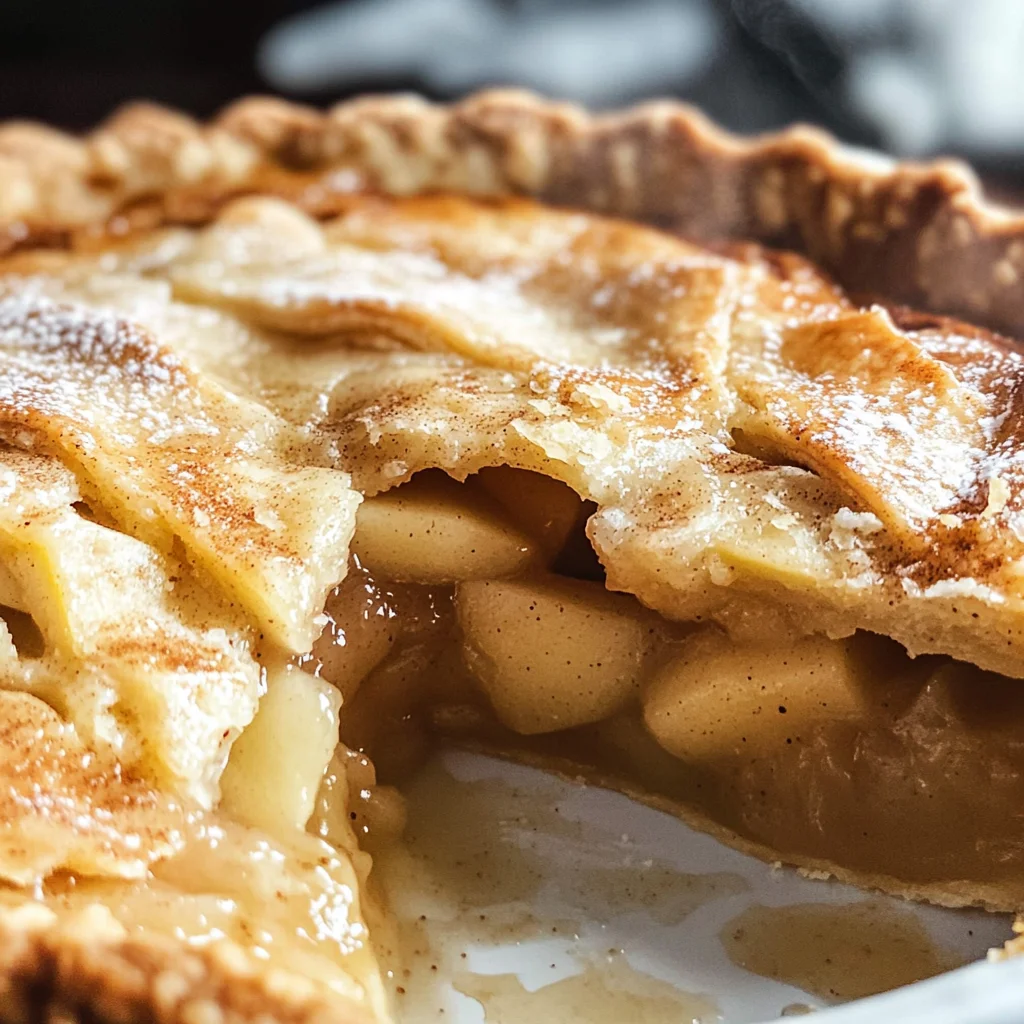
Equipment You’ll Need:
Before we start mixing ingredients together, let’s gather some essential tools that will ensure smooth sailing during our baking journey. Having these components at hand will make everything flow seamlessly—think of them as your trusty companions in crafting something wonderful!
- 9-inch deep-dish pie plate: A good quality pie plate is key—it helps distribute heat evenly during baking so you achieve that perfectly golden crust every time! If you don’t have one at hand, any oven-safe dish can work in a pinch!
- Mixing bowls (various sizes): You’ll need at least two bowls—one for mixing your dry ingredients and another for tossing those delicious apple slices with lemon juice and spices. Choose bowls made from sturdy materials like glass or ceramic; they keep everything stable while you mix away!
- Measuring cups & spoons: Accurate measurements are non-negotiable when baking—precision ensures consistent results every time! Invest in reliable measuring cups (both liquid and dry) along with measuring spoons for precise quantities.
- Peeler & knife: A good vegetable peeler makes stripping those apples quick work while ensuring minimal waste—the last thing we want is losing precious fruit! Follow up with a sharp knife for slicing; aim for uniform thickness so they cook evenly during baking.
- Pastry brush: This little tool is essential for applying egg wash over your crust—it helps achieve that shiny finish we all adore on baked pies!
Now that we’ve set up everything we’ll need let’s dive into preparing this heartfelt Apple Pie!
Step 1: Preheat Your Oven & Prepare Your Filling
First things first—set your oven temperature to 375°F (190°C). Preheating is crucial because it ensures even cooking right from the start; if you skip this step, you’ll likely end up with unevenly baked crusts or fillings! While that’s happening, grab a small bowl where you’ll combine both sugars along with flour and spices—this mixture creates what I like to call “the magic dust” that coats those luscious apple slices beautifully later on.
In another bowl (yes—we’re combining bowls like pros), toss together those thinly sliced peeled tart apples with lemon juice until they’re well-coated. This step not only brightens their flavor but also prevents oxidation—which means no unappetizing brown spots will mar your gorgeous filling later on! Once that’s done—which shouldn’t take long—we’ll sprinkle in our prepared sugar mixture over those apples before gently tossing again until every piece feels well-loved by all those warm spices!
Step 2: Assemble Your Pie
Now comes one of my favorite parts—the assembly process where magic truly happens! Begin by taking one round of store-bought dough (it should be thawed if previously frozen) and carefully place it inside your 9-inch deep-dish pie plate—you want enough overhang along edges so we can flute them later on after adding filling (this helps create visual appeal!). Press down gently but firmly across bottom ensuring no air pockets remain underneath; think about making friends with your dough here!
Once settled comfortably into place—don’t rush yourself—we’ll pour those aromatic coated apples right into center before dotting them lovingly with small bits of butter scattered atop—that little bit will melt away during baking adding extra richness throughout each bite!
Step 3: Top It Off
Next up? Time for some more dough action! Grab your second round from earlier then gently lay across top covering entire surface area over filled-up goodness below us—you might find yourself smiling as you press down edges sealing everything tightly shut because trust me—it’ll be worth every second invested once baked golden brown perfection emerges!
After sealing edges securely together (I adore fluting mine using fingers creating beautiful patterns)—allow yourself some creativity here—we’re going traditional by cutting slits atop allowing steam escape while simultaneously showcasing deliciousness underneath (plus who doesn’t love seeing glimpses through crust?!).
Step 4: Brush & Sprinkle
Let’s make things shine now… literally! Beat that egg white until foamy using either whisk or fork then apply generously across surface trying cover entire area—it’ll transform dull-looking crust into gleaming marvel once baked achieving coveted golden hue everyone desires! Finally sprinkle additional sugar lightly atop giving final touch before sliding beauty into preheated oven ready begin its transformation journey shortly thereafter…
Stay tuned as we continue unfolding layers upon layers within this wondrous tale… What happens next? A fragrant aroma fills kitchen beckoning everyone nearby yearning curiosity…
The Heart of the Apple Pie
As we dive deeper into this delicious journey, let’s talk about the next steps that will transform those luscious apples into a filling that sings with flavor! This stage is where we truly craft our pie—imbuing it with warmth, sweetness, and just the right amount of spice. Once you’ve tossed your apples with lemon juice and lovingly coated them in that delightful sugar-spice mixture, it’s time to bring everything together in a way that will make your heart flutter.
Step 5: Layering the Flavorful Filling
Now that you have your apple mixture prepped, it’s time to fill that pie crust with a bounty of flavors. First, take one of your store-bought pie dough rounds and lay it gently into your pie plate. Press it down softly, ensuring that it hugs every curve of the dish—this is crucial because a well-fitted crust means no leaks during baking and a perfectly shaped pie when served. The beauty of using store-bought crust is not just in the convenience but also in its buttery richness that pairs so beautifully with the tartness of the apples.
Next, spoon those beautifully spiced apples into the crust. Don’t be shy; pile them high! This filling isn’t just about quantity; it’s about creating layers of sweetness and tang that will meld together as they bake. To elevate this experience even further, you’ll want to dot your apple filling with small pieces of butter—about a tablespoon should do. This step is absolutely paramount as butter melts while baking, creating a luscious sauce that envelops the apples and keeps them moist. Trust me on this—when you slice into your pie later, the gooey goodness will be utterly intoxicating!
Step 6: Sealing Your Creation
With your filling nestled snugly inside its buttery embrace, it’s time for the pièce de résistance—the top crust! Take your second round of dough and gently place it over the apple-filled base. Now comes an important moment: seal those edges! You can crimp them together with your fingers for a rustic look or use a fork for a more polished finish—either way, make sure they are securely sealed so that none of that heavenly apple juice escapes during baking.
Cutting slits in the top crust is not merely decorative but rather essential for allowing steam to escape as it bakes. Without these little vents, you could end up with an unsightly explosion instead of a perfectly puffed pastry. Aim for three or four slits; just enough to let air flow freely without compromising the structure of your beautiful pie. Watching those delicate slits transform under heat into golden-brown perfection is like witnessing magic unfold in your kitchen!
Step 7: Brushing with Egg White – The Secret Shine
Here comes one of my favorite parts—bringing some shine to our masterpiece! In a small bowl, whisk up one large egg white until it becomes frothy and airy. This simple act does wonders! By brushing this foamy mixture over the top crust before baking, you’re not only giving it a beautiful golden hue but also creating a slight barrier against moisture from escaping too quickly. This ensures each slice remains intact when served.
When applying the egg wash, use a pastry brush or even just your fingers if you feel adventurous; just make sure every inch of that crust gets some love. After brushing, sprinkle additional sugar on top—it’s like giving your pie a sweet little crown! The sugar caramelizes during baking, creating an irresistible crunch on top that offers delightful contrast to the tender filling below.
Step 8: Baking Your Apple Pie to Perfection
Now we enter what I like to call the waiting game, which can be both thrilling and torturous! Preheat your oven to 375°F (190°C) and slip your masterpiece onto the center rack once it’s nice and hot—be mindful here; this is where timing becomes critical. Bake for about 25 minutes covered loosely with foil; this protects the edges from browning too quickly while allowing the filling to heat through.
After those first 25 minutes have passed (and believe me—you’ll know because your kitchen will be filled with an aroma so divine it might just pull you towards the oven), remove the foil carefully—watch out for hot steam! At this point, you’ll want to continue baking uncovered for an additional 20-25 minutes until the top crust glistens like liquid gold and any juices bubbling around those lovely slits look thickened and inviting.
What should you look for? A golden-brown crust means success! And if you’re uncertain about doneness, gently press on one edge; if it’s firm yet slightly springy, you’re golden! Don’t rush this step—allowing everything to caramelize properly ensures you’ll achieve a depth of flavor that’s profoundly satisfying.
Final Touches
As soon as you’ve achieved that perfect golden hue on top and seen those delightful juices bubbling away beneath, it’s time for what feels like an eternity in waiting—a cooling period. Place your freshly baked apple pie on a wire rack; cooling allows those beautiful layers within to set properly and makes slicing easier later on.
Step 9: Cooling – The Sweet Reward
I know how tempting it is to dive right in after taking it out from the oven—the smell alone could drive anyone mad! But patience here is key; let it cool for at least two hours before cutting into it—this allows all those glorious flavors to meld perfectly together while ensuring each slice holds its shape beautifully.
Once cooled (and trust me—you’ll want everyone nearby ready with forks), serve warm alongside creamy vanilla ice cream or whipped cream—this elevates every bite into something truly extraordinary! Each mouthful combines tender apples swirled in cinnamon-spiced syrup encased in flaky buttery pastry—a symphony of flavors that’ll dance right off your plate!
So there you have it—a classic American apple pie recipe made from scratch that I hope fills your home with warmth and love as much as it does mine every time I make it. Enjoy every moment spent sharing slices with friends or family—you deserve nothing less than pure joy from this experience!
Storage and Enjoyment Tips for Your Apple Pie
Ah, there it is—your glorious apple pie, golden-brown and bubbling with joy! I can almost smell the sweet aroma wafting through your kitchen, inviting everyone to gather around. But what happens when you have a slice (or two) left? Fear not! Storing your beloved apple pie is just as easy as making it. You’ll want to keep that symphony of flavors and textures intact, and I’m here to guide you every step of the way.
Storing Leftover Apple Pie
To store any leftover apple pie, simply let it cool completely on a wire rack before transferring it to an airtight container. This is absolutely crucial because trapping steam will lead to a soggy crust—no one wants that! If you don’t have a suitable container, wrapping it tightly in plastic wrap works wonders too. Your pie will keep well in the fridge for about 3-4 days, but trust me when I say the flavors get even better as they mingle overnight! For those of you who crave that fresh-from-the-oven taste, consider placing a slice of bread alongside your pie; this little trick helps maintain moisture without compromising the crust’s crispiness. When you’re ready to enjoy another slice, you can reheat it in the oven or microwave until warm, allowing the filling to become gloriously gooey again. The aroma alone will have your taste buds dancing with delight!
Freezing Apple Pie for Later
Now, if you’re like me and love having homemade treats on hand for unexpected guests or late-night cravings, freezing your apple pie is an absolute game-changer. To do this properly, make sure your pie is entirely cooled before wrapping it tightly in plastic wrap and then aluminum foil—this double layer protects against freezer burn while locking in all that delicious flavor. It can be stored in the freezer for up to three months without losing its charm! When you’re ready to indulge, simply remove the foil and plastic wrap and let it thaw in the refrigerator overnight before baking it at 375°F until heated through. The convenience of having a homemade dessert ready at a moment’s notice is just too delightful to pass up. Trust me—you won’t regret this little bit of prep work!
With these storage tips in mind, I hope you’re feeling more inspired than ever to whip up this scrumptious apple pie! It’s truly amazing how something so simple can bring such joy into our lives.
Apple Pie
- Total Time: 1 hour 10 minutes
- Yield: Serves about 8 slices 1x
Description
Apple Pie is a timeless classic that brings warmth and joy to any gathering. With its flaky, buttery crust enveloping a sweet and tart filling of tender apples, this dessert evokes cherished memories of family gatherings and crisp autumn days. The delightful aroma of cinnamon and baked apples wafts through your kitchen, inviting everyone to indulge in a slice of happiness. This easy-to-follow recipe allows you to create a homemade apple pie that not only satisfies your sweet tooth but also serves as a heartwarming centerpiece for any occasion. So roll up your sleeves and embark on this culinary adventure!
Ingredients
- 1/2 cup granulated sugar
- 1/2 cup packed brown sugar
- 3 tablespoons all-purpose flour (or gluten-free flour)
- 1 teaspoon ground cinnamon
- 1/4 teaspoon ground ginger
- 1/4 teaspoon ground nutmeg
- 6 to 7 cups thinly sliced peeled tart apples (like Granny Smith)
- 1 tablespoon lemon juice
- 2 rounds of store-bought pie crust
- 1 tablespoon butter, cut into small pieces
- 1 large egg white
- Additional sugar for sprinkling
Instructions
- Preheat your oven to 375°F (190°C).
- In a bowl, combine granulated sugar, brown sugar, flour, cinnamon, ginger, and nutmeg.
- Toss peeled apple slices with lemon juice in another bowl. Sprinkle the sugar mixture over the apples and toss until coated.
- Place one pie crust in a 9-inch deep-dish pie plate. Fill with the apple mixture and dot with butter.
- Cover with the second pie crust, sealing the edges securely. Cut slits in the top for steam to escape.
- Brush the top with beaten egg white and sprinkle with additional sugar.
- Bake covered with foil for 25 minutes; then uncover and bake for an additional 20-25 minutes until golden brown.
- Prep Time: 20 minutes
- Cook Time: 50 minutes
- Category: Dessert
- Method: Baking
- Cuisine: American
Nutrition
- Serving Size: 1 serving
- Calories: 320
- Sugar: 24g
- Sodium: 150mg
- Fat: 14g
- Saturated Fat: 7g
- Unsaturated Fat: 6g
- Trans Fat: 0g
- Carbohydrates: 46g
- Fiber: 3g
- Protein: 2g
- Cholesterol: 35mg


Leave a Comment