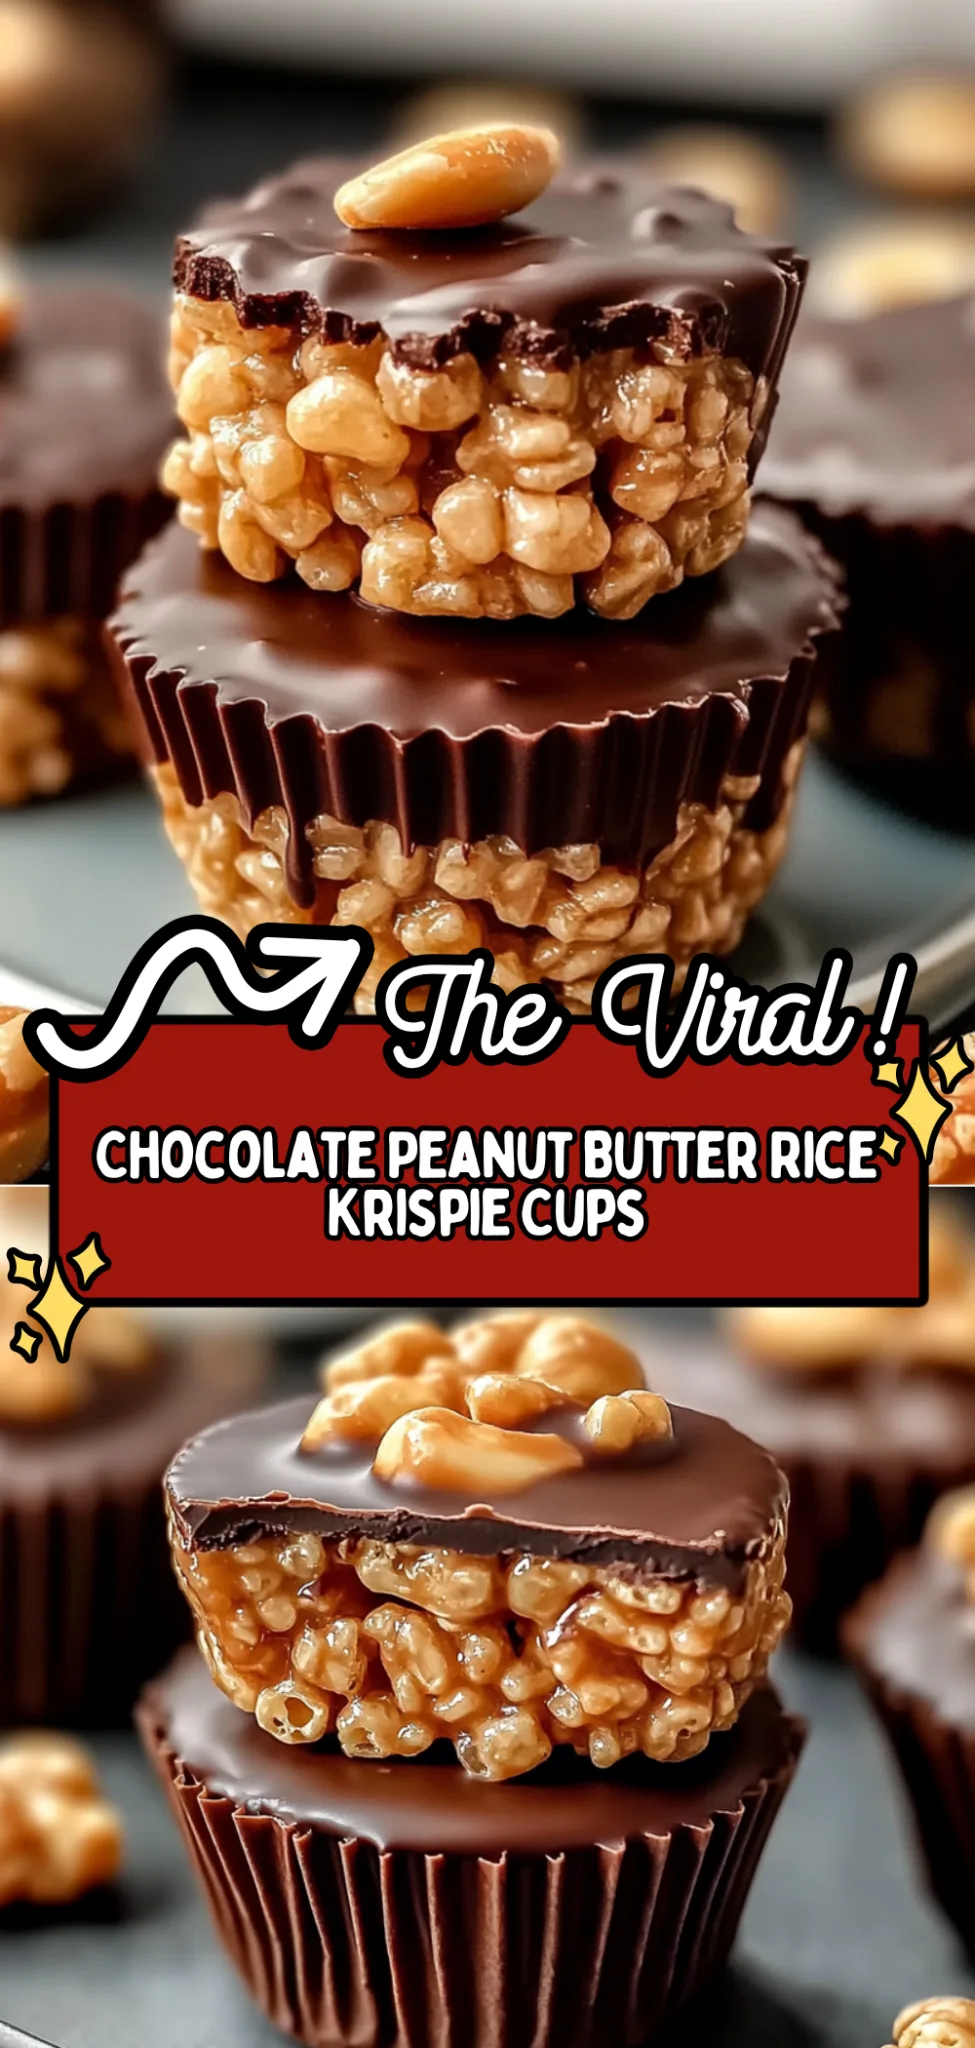
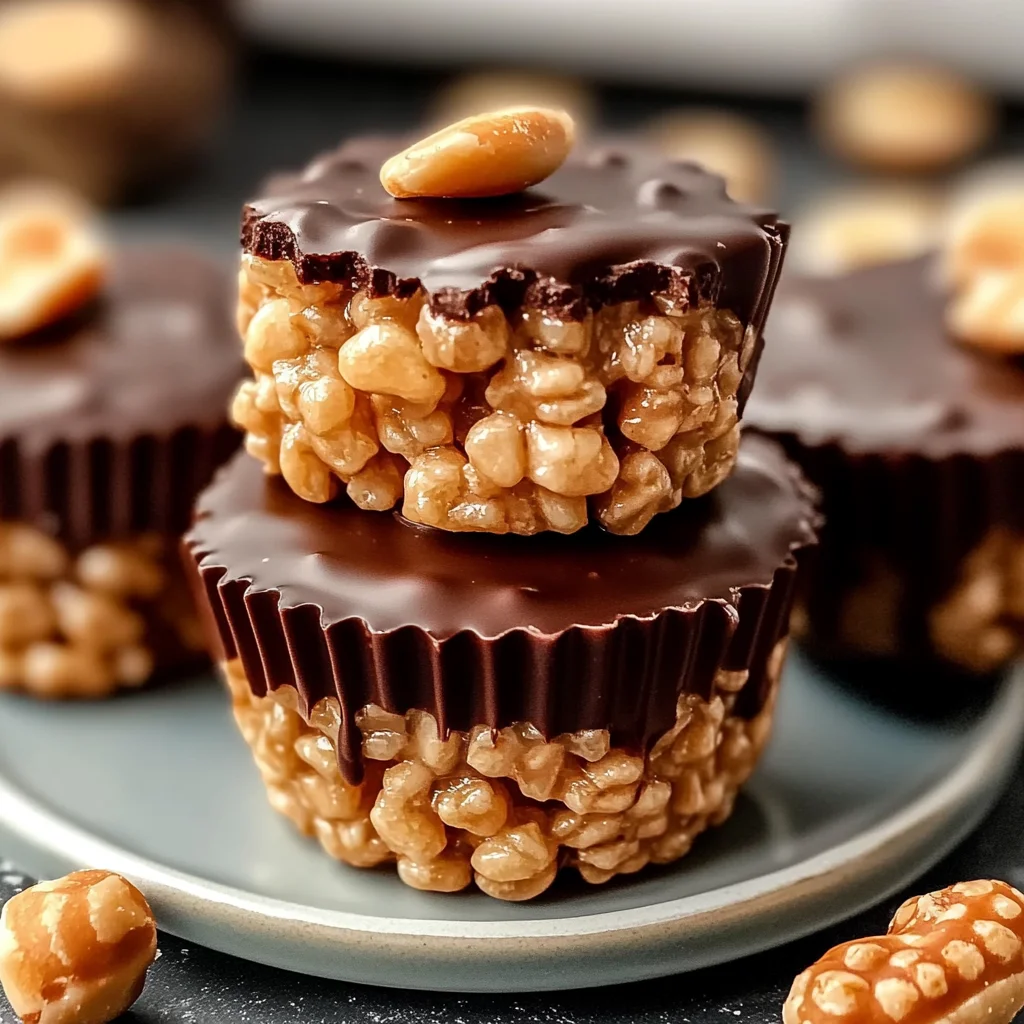
Indulge in the irresistible allure of Chocolate Peanut Butter Rice Krispie Cups, where rich, creamy chocolate meets the nutty warmth of peanut butter, all nestled atop a bed of crispy rice cereal. Each bite offers a delightful crunch followed by a smooth, velvety finish that wraps around you like a comforting embrace—perfect for cozy evenings or celebrating special moments with loved ones.
What sets these treats apart is their effortless no-bake preparation, allowing you to whip up a batch in no time without sacrificing flavor or decadence. With just a handful of simple ingredients and the magic of combining sweet and salty, these cups are not only visually appealing but also an invitation to share joy and satisfaction. Dive into this delicious experience and let these Chocolate Peanut Butter Rice Krispie Cups become your new favorite treat.
Why You’ll Love This Chocolate Peanut Butter Rice Krispie Cups
You’ll fall head over heels for these Chocolate Peanut Butter Rice Krispie Cups, where the delightful crunch of Rice Krispies perfectly contrasts the creamy richness of peanut butter and the luscious melt of chocolate. Each bite offers a harmonious blend of sweet and nutty flavors, enhanced by the natural sweetness of honey that brings everything together in a scrumptious treat. The appealing layers topped with a drizzle of peanut butter and a glossy finish of melted chocolate not only make these cups visually irresistible but also create an indulgent experience for your taste buds. With no baking required, you can whip up these mouthwatering delights in no time—so why wait? Treat yourself to a batch tonight!
What Kind of Peanut Butter Should I Use?
For this Chocolate Peanut Butter Rice Krispie Cups recipe, creamy peanut butter is the best choice. It provides a smooth and consistent texture that blends seamlessly with the other ingredients, ensuring every bite is rich and flavorful. Creamy peanut butter also helps to bind the Rice Krispies together, creating that deliciously chewy yet crispy treat we all love. If you prefer crunchy peanut butter for added texture, simply use it in equal measure; just be aware that it may slightly alter the consistency of the mixture, but it will still yield a tasty result.
Ingredients for the Chocolate Peanut Butter Rice Krispie Cups
Each ingredient in this dish plays an essential role in flavor and texture. Here’s what you’ll need:
3 cups Rice Krispies: These provide the delightful crunch that makes these treats so irresistible.
1 cup Peanut butter (Creamy or crunchy): Adds rich, nutty flavor and binds all the ingredients together.
1 cup Chocolate chips (Semi-sweet or dark): Infuses the cups with luscious chocolate goodness.
1/2 cup Honey (Or maple syrup for vegan option): Acts as a natural sweetener, enhancing overall taste and texture.
1/2 cup Chocolate chips (For melting on top): Creates a smooth, decadent layer that elevates the treats.
1 tbsp Peanut butter (For drizzling on top): Adds an extra touch of creamy richness to finish off each cup.
How To Make the Chocolate Peanut Butter Rice Krispie Cups
Combine Ingredients
In a mixing bowl, add the peanut butter and honey. Microwave the mixture for about 30 seconds to soften it, making it easier to combine. Once softened, stir until you achieve a smooth consistency, ensuring that the honey is fully incorporated into the peanut butter.
Mix in Rice Krispies
Add the Rice Krispies to the peanut butter mixture. Using a spatula or wooden spoon, gently fold the Rice Krispies into the mixture until they are evenly coated. This should create a sticky yet well-distributed blend that will hold its shape when formed.
Prepare Muffin Tin
Line a muffin tin with cupcake liners, making sure each compartment is covered. This step is essential as it helps in easily removing the Rice Krispie cups once they are set. Ensure that the liners are secure and positioned correctly to hold the mixture.
Form the Cups
Scoop an even amount of the Rice Krispie mixture into each lined compartment of the muffin tin. Press down firmly with your fingers or a spoon to shape them into cup forms, ensuring they have a solid base and sides. The pressing helps them hold together once chilled.
Melt Chocolate for Topping
In a microwave-safe bowl, place the chocolate chips designated for melting on top of your cups. Heat them in 30-second intervals, stirring between each interval until completely smooth and glossy. Be careful not to overheat; stop as soon as you see no lumps remaining.
Spoon Chocolate Over Cups
Once your chocolate is melted and smooth, carefully spoon it over each Rice Krispie cup. Use enough chocolate to generously cover each cup while allowing some of the crispy edges to be visible for texture contrast. This step adds both flavor and visual appeal.
Drizzle with Peanut Butter
Using a small spoon or piping bag, drizzle a bit of peanut butter over each cup for decoration. This not only enhances presentation but also adds an extra layer of peanut buttery goodness on top of your treats.
Chill to Set
Place the muffin tin in the refrigerator and let it chill for at least 1 hour. This chilling time allows the chocolate to set properly, ensuring that when you bite into them, they hold their shape beautifully without crumbling apart.
Remove and Enjoy
Once set, carefully remove each Rice Krispie cup from the muffin tin by peeling away the cupcake liners. Enjoy these delightful treats as they are or share them with friends and family for a perfect sweet snack!
How to Serve and Store Chocolate Peanut Butter Rice Krispie Cups
These Chocolate Peanut Butter Rice Krispie Cups yield 4 delightful servings, perfect for sharing at gatherings or enjoying as a sweet treat during movie night. For a fun presentation, serve them on a colorful plate alongside fresh fruit like strawberries or banana slices that complement the rich chocolate and peanut butter flavors. A drizzle of extra melted chocolate on top adds an indulgent touch that will make your guests eager to dig in.
To store any leftovers, place the cups in an airtight container and keep them in the fridge for up to one week. If you want to enjoy them later, simply let them sit at room temperature for a few minutes before eating; this helps maintain their crispy texture. Avoid reheating in the microwave, as it can soften the Rice Krispies—if needed, gently warm them in a low oven for just a few seconds to bring back their crunch without losing quality. These treats don’t freeze well due to potential texture changes, so it’s best to savor them fresh!
Creamy Mashed Sweet Potatoes
The natural sweetness and creamy texture of mashed sweet potatoes create a delightful contrast to the rich chocolate and peanut butter flavors.
Roasted Brussels Sprouts
The crispy, caramelized edges of roasted Brussels sprouts add a savory crunch that beautifully balances the sweetness of the Rice Krispie cups.
Garlic Bread
Buttery and garlicky, this classic bread option provides a savory bite that complements the dessert’s indulgent chocolate and peanut butter notes.
Spinach Salad with Balsamic Vinaigrette
A fresh spinach salad drizzled with tangy balsamic vinaigrette offers a refreshing palate cleanser that enhances the richness of the treats.
Creamy Macaroni and Cheese
The gooey, cheesy goodness of macaroni and cheese adds a comforting creaminess that pairs surprisingly well with the crunchy Rice Krispies.
Spicy Roasted Chickpeas
These crispy and spicy chickpeas provide an unexpected kick that contrasts nicely with the sweet and nutty flavors of the Rice Krispie cups.
Frequently Asked Questions
Can I use almond butter instead of peanut butter?
Yes, almond butter can be used as a substitute for peanut butter in this recipe. Just keep in mind that this will slightly change the flavor profile, but it will still create delicious Rice Krispie cups.
Are these Rice Krispie cups gluten-free?
Yes, the Rice Krispie cups can be made gluten-free by ensuring you use gluten-free Rice Krispies. This way, everyone can enjoy this tasty treat without any concerns about gluten.
Can I make these ahead of time and freeze them?
Absolutely! You can prepare the cups and freeze them for up to a month. Just make sure to wrap them well to avoid freezer burn, and allow them to thaw in the refrigerator before serving.
How do I know when the chocolate is melted properly?
The chocolate is melted properly when it is smooth and shiny. Melt it in 30-second intervals, stirring in between until there are no lumps remaining; this prevents overheating and ensures a silky topping.
Can I add nuts or other toppings to the Rice Krispie cups?
Yes, feel free to add chopped nuts or even sprinkles on top of the chocolate before it sets for added texture and flavor. Just remember to consider how these additions might affect the overall balance of flavors in your treats.
Conclusion
There’s nothing quite like the delightful combination of chocolate and peanut butter in these Chocolate Peanut Butter Rice Krispie Cups, making them an irresistible treat that’s both easy to prepare and sure to impress friends and family. For more delicious no-bake inspirations, be sure to try our [No-Bake Oreo Cheesecake] or [Peanut Butter Banana Energy Bites]. We’d love for you to share your creations with us on Pinterest, and don’t forget to let us know how much you enjoyed these treats in the comments!
Chocolate Peanut Butter Rice Krispie Cups
Ingredients
Method
- In a mixing bowl, combine the peanut butter and honey. Microwave for 30 seconds to soften, then stir until smooth.
- Add the Rice Krispies to the peanut butter mixture and stir until evenly coated.
- Line a muffin tin with cupcake liners.
- Scoop the Rice Krispie mixture into each liner, pressing down firmly to create a cup shape.
- In a microwave-safe bowl, melt the chocolate chips for the topping in 30-second intervals, stirring in between until smooth.
- Spoon the melted chocolate over each Rice Krispie cup.
- Drizzle with a little peanut butter for decoration.
- Refrigerate the cups for at least 1 hour to set the chocolate.
- Once set, remove from the muffin tin and enjoy!


Leave a Comment