When it comes to comfort food, there’s something profoundly satisfying about a serving of Classic Southern Coleslaw. It’s not just a simple salad; it’s an experience steeped in tradition, love, and a little bit of magic that happens when fresh ingredients are brought together. Picture yourself at a summer barbecue, where the sweet scent of grilled vegetables wafts through the air and laughter fills the space. You reach for a pile of coleslaw, and with that first bite, you’re transported into a world where every crunch is paired with creamy tanginess—a symphony of flavors that dances on your palate. This Classic Southern Coleslaw is more than just food; it’s a bridge between generations, connecting us to family gatherings and cherished recipes passed down like heirlooms.
Why do people adore this coleslaw? Perhaps it’s the delightful contrast of textures—the crisp cabbage meeting the soft creaminess of the dressing—or maybe it’s the perfect balance between sweetness and tang that keeps you coming back for more. This isn’t just any side dish; it’s wonderfully versatile, accompanying everything from fried chicken to grilled veggies or standing proudly on its own as a light lunch on hot days. I promise you, once you whip up this coleslaw, it will become a staple in your kitchen repertoire. The best part? It’s incredibly easy to make! Let’s dive into making this unforgettable Classic Southern Coleslaw together.
Classic Southern Coleslaw: A Creamy Delight for Every Occasion
This recipe embodies the essence of southern hospitality—simple yet bursting with flavor. It’s my go-to side dish for gatherings because it’s not only delicious but also so quick to prepare. With just a handful of ingredients and minimal effort, you can create something that feels special and homely.
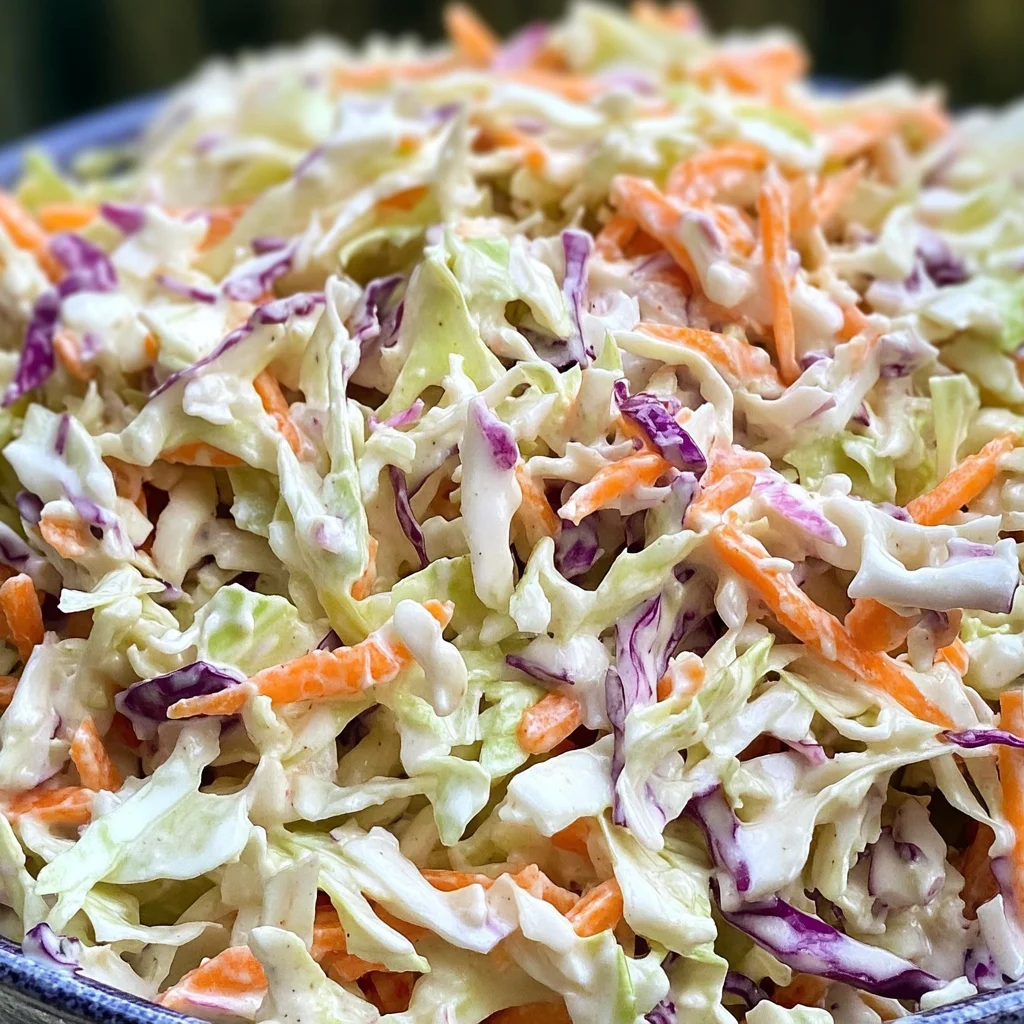
Ingredients:
Before we embark on this culinary journey together, let me share why each ingredient plays such an integral role in crafting this amazing coleslaw.
- 1 bag coleslaw mix (16 ounces, or 8 cups shredded cabbage). The foundation of our coleslaw! The pre-packaged mix includes both green cabbage and sometimes red cabbage for color—a fantastic time-saver when you’re in a pinch. Look for bags with vibrant colors; this ensures freshness! Fresh cabbage adds that satisfying crunch that contrasts beautifully with our creamy dressing. If you prefer fresh cabbage heads instead, go for one small green cabbage and shred it yourself.
- 1 cup shredded or grated carrots. Carrots bring a natural sweetness to the dish that balances out the tangy notes of the dressing beautifully. They also add vibrant color and additional crunch to each bite! When selecting carrots, opt for firm ones without blemishes; these are packed with flavor. If you want to mix things up, try using purple or yellow carrots for an exciting twist!
- ½ cup mayonnaise. This is where we get our rich creaminess from—it’s absolutely crucial for achieving that smooth texture we all know and love in Classic Southern Coleslaw. Mayonnaise serves as the backbone of our dressing by adding depth and flavor while also helping bind all our other ingredients together into one harmonious mixture. For those looking for lighter alternatives, Greek yogurt can serve as an excellent substitute without sacrificing creaminess.
- 2 tablespoons buttermilk. Ahh, buttermilk—the secret ingredient here! It provides an extra layer of tanginess that elevates our dressing from good to extraordinary. This addition creates that beautiful balance between sweet and savory flavors; trust me when I say it makes all the difference! If you don’t have buttermilk on hand (which can happen!), you can easily create your own by mixing milk with vinegar or lemon juice—just let it sit for about five minutes before using.
- ⅓ cup granulated sugar. Sugar is essential in this recipe as it counteracts any bitterness from the cabbage while enhancing overall flavor complexity. The sweetness pairs perfectly with our tangy dressing and creates an irresistible allure that’s hard to resist! Be cautious—if you’re watching your sugar intake or prefer less sweetness, feel free to adjust according to your taste preferences.
- 1 tablespoon distilled white vinegar. Vinegar adds brightness to our dressing—it cuts through richness while amplifying flavors beautifully! Distilled white vinegar works well here due to its clean taste; however, if you’re feeling adventurous, apple cider vinegar could provide another delightful dimension.
- 1 tablespoon lemon juice. Fresh lemon juice brings acidity that brightens everything up just like sunshine on a cloudy day! This simple addition rounds out our flavor profile by complementing both sweet and savory notes within the slaw itself; don’t skip it!
- ¾ teaspoon kosher salt (plus more to taste before serving). Salt elevates flavors—it enhances sweetness while balancing acidity within our dressing too! Using kosher salt is advisable since its larger grain size allows easy even distribution throughout dishes compared to table salt which might be too salty if overused.
- ¼ teaspoon black pepper (plus more to taste before serving). Finally, black pepper adds warmth—a hint of spice that rounds out each bite perfectly! Freshly cracked black pepper is ideal here since pre-ground varieties tend to lose their aromatic quality over time; trust me—you deserve fresh!
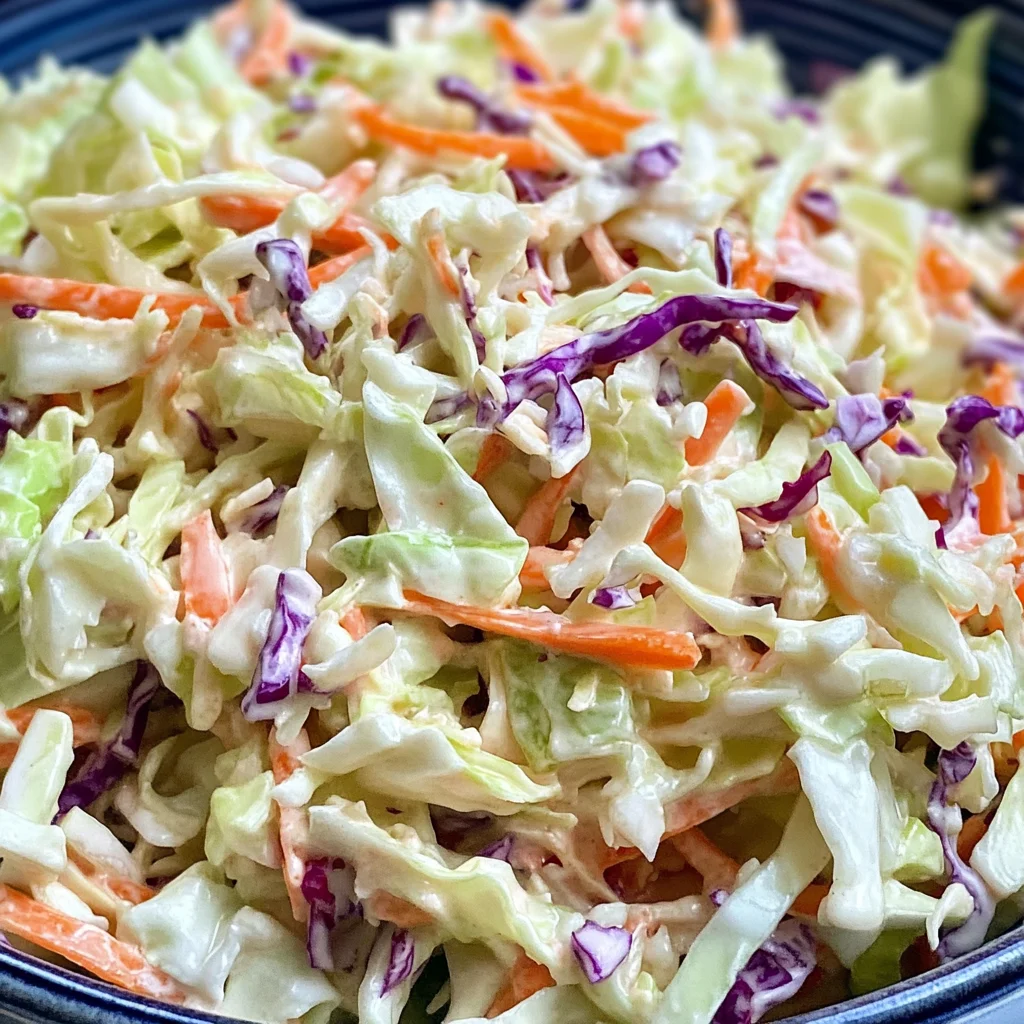
Equipment You’ll Need:
Having the right tools at hand makes your cooking experience smoother and more enjoyable—think of them as essential partners in creating something wonderful!
- Mixing bowls – A good set of mixing bowls is essential for combining ingredients efficiently without any mess spilling over onto counters or surfaces while whisking together dressings or tossing slaws!
- Whisk – This handy tool helps us achieve smooth dressings free from lumps—whisking thoroughly ensures every drop coats those beautiful veggies evenly!
- Cutting board & knife – A sturdy cutting board paired with a sharp knife will help prep all those veggies effortlessly so they’re ready when needed—this saves time during assembly later on!
- Measuring cups & spoons – Accurate measurements ensure consistent results every time we create dishes like these flavorful coleslaws; precision matters especially when working with contrasting flavors like sweet versus tangy!
Now that we’ve gathered our ingredients and tools let’s dive into preparing this delightful Classic Southern Coleslaw!
Step 1: Crafting the Creamy Dressing
To kick things off, grab your trusty mixing bowl because we’re going to start by crafting that creamy dressing—this step is vital as it’s what transforms plain shredded vegetables into something truly spectacular! In your bowl, combine the granulated sugar alongside buttermilk—make sure you’ve shaken up your buttermilk beforehand so it mixes smoothly without clumping! Next comes distilled white vinegar followed closely by fresh lemon juice—a combination guaranteed to elevate flavors through their acidity while balancing sweetness in perfect harmony.
Once you’ve added those components together along with mayonnaise (which brings creaminess), take your whisk in hand—and whisk away until everything melds into one luscious blend free from lumps! I recommend tasting at this point; if there seems excessive tartness present initially—that’s normal—but don’t worry; chilling allows flavors to marry beautifully resulting in an utterly intoxicating final product later on!
Step 2: Melding Cabbage & Carrots
Now let’s turn our attention toward assembling those crunchy base ingredients—the shredded cabbage combo paired harmoniously alongside grated carrots brings vibrancy alongside nourishment too! In another large mixing bowl (yes—you’ll need two!), pour out contents from your bagged coleslaw mix along with freshly grated carrots ensuring even distribution throughout so every mouthful delivers exquisite textures when served later on!
If there are larger pieces mixed within (which can happen), take some moments gently slicing them down further into smaller bits so they blend seamlessly amongst other elements during tossing stages ahead. This process ensures uniformity across servings making sure no one bites down on an oversized chunk unexpectedly—which could detract from enjoying overall experience altogether!
Step 3: Marrying Veggies & Dressing
With both components prepped beautifully—it’s time we unite these two worlds together creating magic within every bite enjoyed thereafter! Drizzle generous amounts of prepared creamy dressing directly over shredded veggie mixture ensuring adequate coverage across surfaces fully coated before beginning gentle toss motions throughout ensuring complete incorporation occurs without mashing anything down too harshly either—it should remain light yet cohesive once finished!
Take care during this stage; remember—you want everything combined well enough so each piece gets coated evenly delivering optimal flavor profiles come serving times later down road ahead—this process doesn’t require rushing either—allow yourselves ample moments engaging lovingly whilst mixing tenderly until desired consistency reached conveying proper marriage achieved successfully between all parties involved making them feel welcomed warmly alongside one another now ready for chilling stage next ahead…
Step 4: Chilling Time
Ahh—the last critical step before serving arrives—the chilling phase awaits us patiently now calling forth delicious anticipation building excitement surrounding future tastings soon approaching eagerly awaiting guests arriving hungry mouths ready devouring delectable dishes prepared beforehand lovingly crafted earlier today! Cover bowl tightly securing air inside preventing unwanted oxidation occurring post-mixing thereby ensuring freshness retained intact allowing flavors mingle beautifully throughout extended period resting cool environment set aside refrigerator ideally anywhere between two-three hours minimum but longer if preferred yielding even deeper intensity within profiles developed further enhancing satisfaction levels achieved upon indulging finally after waiting patiently endured thus far…
And there you have it—the beginnings of what promises ultimately become beloved staple classic recipe shared amongst family friends alike during gatherings celebrations alike bringing warmth joy heartwarming memories forged forever lasting impressions established through simple acts preparing sharing food together uniting everyone involved around table smiles lighting faces everywhere present celebrating life moments cherished eternally fondly remembered always…
Step 5: The Magic of Mixing and Marrying Flavors
Now that you have your dressing ready to go, it’s time to bring everything together in a glorious embrace of flavors. In a large mixing bowl, combine the coleslaw mix with those vibrant, shredded carrots. Now, I can’t stress enough how important it is to give your cabbage a gentle shake before adding in the dressing. This step ensures that every piece of cabbage gets coated evenly in that luscious dressing. When you drizzle the creamy mixture over the shredded vegetables, watch as it glistens like liquid gold against the crisp greens and bright orange carrots. Gently toss everything together using your hands or tongs—this isn’t just mixing; it’s a loving act of uniting all those delicious ingredients. Trust me on this: taking the time to ensure every shred is coated will result in an utterly intoxicating coleslaw experience.
As you work this comforting coleslaw mix, pay attention to the texture. You want each bite to be crunchy yet softened ever so slightly by that tangy dressing. The magic happens here as the dressing begins to meld with the cabbage and carrots—this is where patience pays off! Don’t rush this step; you’re setting up a symphony of flavors that will only deepen as they chill together in the refrigerator. Once everything is thoroughly combined, take a moment to taste test. You may find that the flavors need just a pinch more salt or pepper, and that’s perfectly normal! Adjusting seasoning at this stage is crucial because it ensures each bite sings with flavor when served.
Step 6: The Chilling Chronicles
Ah, now comes one of my favorite parts—the chilling process! Cover your bowl tightly with plastic wrap or transfer your coleslaw to an airtight container before placing it in the refrigerator. This step might seem simple, but I assure you it’s absolutely paramount for achieving that classic Southern coleslaw flavor profile we’re aiming for. By allowing your coleslaw to chill for 2-3 hours (or even longer if you can resist), you’re giving those ingredients time to mingle and develop deeper flavors—a process known as “marrying.” During this time, the cabbage will soften just enough while still retaining its delightful crunch.
Why is this resting period so essential? Think of it like letting a fine wine breathe; when chilled, all those tangy notes from the vinegar and lemon juice permeate throughout the entire dish, enhancing every single bite. Plus, you’ll notice that any sharpness from the mayonnaise mellows out beautifully over time. So don’t be tempted to skip this step or serve it immediately—your patience will be richly rewarded! And remember, if you take a little taste right after mixing and find it too tart or zesty for your liking, fear not! That vibrant lemon flavor will mellow significantly after chilling.
Step 7: Final Adjustments Before Serving
Once you’re ready to unveil this masterpiece—after at least two hours in hibernation—it’s time for those final touches! As you remove your coleslaw from the fridge, take note of how much liquid has accumulated at the bottom of your bowl; this is completely normal! Give it a good stir before serving because some excess dressing naturally separates during chilling—don’t let that liquid go to waste! It contains all those wonderful flavors that have developed over time.
Before dishing up generous servings for your friends and family—or perhaps sneaking a small bowl just for yourself—take a moment to adjust seasoning if necessary. A sprinkle of kosher salt and freshly cracked black pepper can elevate this dish even further; these finishing touches are what truly make it shine on your table. You want people to experience that perfect balance between sweetness and acidity, so don’t hesitate to taste as you go along! Remember: serving food is about sharing joy; ensuring every bite bursts with flavor makes all the difference.
Step 8: Serving Your Classic Southern Coleslaw
Now comes one of my favorite moments—the serving! As you scoop out portions into individual bowls or onto party platters, take pride in presenting this beautiful creation that brings together freshness and creaminess in such harmony. The vivid colors of green cabbage against orange carrots make for an inviting visual feast, enticing everyone around the table.
Consider pairing your Classic Southern Coleslaw with grilled chicken or fish for a delightful contrast; its sweetness complements savory dishes beautifully! Alternatively, enjoy it alongside barbecue fare—trust me when I say there’s nothing quite like crispy coleslaw next to smoky ribs (which we’re avoiding today)! Use tongs or a large spoon for serving; aim for generous helpings without overwhelming anyone’s plate.
And let’s not forget about garnishing—while optional, adding fresh herbs like chopped parsley or chives on top can provide an extra pop of color and freshness right before serving. Whatever way you choose to present it, know that you’ve created not just food but an experience filled with love and care—a true testament to why Classic Southern Coleslaw holds such a cherished place in our culinary hearts.
Enjoy every crisp bite knowing you’ve mastered this recipe—a side dish that’s sure to become a staple at gatherings big and small!
Storage and Enjoyment Tips for Your Classic Southern Coleslaw
Now that you’ve crafted this delectable Classic Southern Coleslaw, it’s time to relish in the satisfaction of your culinary creation! This creamy, crunchy delight is ready to be served at your next gathering or enjoyed as a comforting side dish at home. But let’s talk about what happens after the feast—because trust me, leftovers can be just as delightful! Proper storage is key to maintaining its fresh flavors and textures, ensuring that each bite continues to bring joy long after it’s made.
Storing Leftover Classic Southern Coleslaw
When it comes to storing your leftover Classic Southern Coleslaw, choosing the right container can make all the difference. An airtight glass or plastic container is ideal; it not only keeps the coleslaw fresh but also allows you to see that vibrant mix of colors. Place the container in the refrigerator where it will stay delicious for about 3 to 5 days. However, I highly recommend enjoying it within the first few days for optimal crunchiness and flavor. To maintain that delightful texture, try placing a slice of bread in with your coleslaw—this little trick helps absorb excess moisture without compromising taste! Just remember that while the flavors may deepen and meld beautifully over time, if you leave it too long, you might notice a decline in crispness. When you’re ready to serve again, give it a good stir to reincorporate any liquid that settles at the bottom and adjust seasoning with a touch more salt and pepper if needed.
Freezing Classic Southern Coleslaw for Later
If you find yourself with an abundance of coleslaw (which is a true blessing!), freezing is a fabulous option. While I must say that this recipe is best enjoyed fresh due to its crunchy texture, if you decide to freeze it for later enjoyment, use freezer-safe bags or containers. Make sure to remove as much air as possible before sealing—this prevents freezer burn and keeps your coleslaw tasting fresh. It can last up to 2 months in the freezer without losing too much quality! When you’re ready to use your frozen coleslaw, simply thaw it overnight in the refrigerator before giving it a good stir. This makes life so much easier during busy weeks when you want something quick yet satisfying on hand! Just imagine pulling out that vibrant mix from the freezer on a hot summer day—a little taste of sunshine whenever you need it!
Classic Southern Coleslaw
- Total Time: 15 minutes
- Yield: Approximately 6 servings 1x
Description
Classic Southern Coleslaw is the ultimate comfort food that brings a burst of flavor and crunch to any gathering. This creamy, tangy salad combines shredded cabbage and carrots with a luscious dressing that strikes the perfect balance between sweetness and acidity. Imagine serving this vibrant dish at your next barbecue or picnic—it’s not just a side; it’s a celebration of flavors that connects generations. With its ease of preparation, this coleslaw is destined to become a beloved staple in your kitchen. Whether enjoyed alongside grilled chicken or on its own as a light lunch, each bite offers a delightful crunch that keeps you coming back for more. Let’s create this irresistible Classic Southern Coleslaw together!
Ingredients
- 1 bag coleslaw mix (16 ounces)
- 1 cup shredded carrots
- ½ cup mayonnaise
- 2 tablespoons buttermilk
- ⅓ cup granulated sugar
- 1 tablespoon distilled white vinegar
- 1 tablespoon lemon juice
- ¾ teaspoon kosher salt
- ¼ teaspoon black pepper
Instructions
- In a mixing bowl, whisk together mayonnaise, buttermilk, sugar, vinegar, lemon juice, salt, and pepper until smooth.
- In another large bowl, combine the coleslaw mix and shredded carrots.
- Drizzle the dressing over the coleslaw mixture and toss gently until all vegetables are coated evenly.
- Cover tightly and refrigerate for at least 2 to 3 hours to let flavors meld.
- Before serving, give the coleslaw a good stir and adjust seasoning if necessary.
- Prep Time: 15 minutes
- Cook Time: 0 minutes
- Category: Salad
- Method: Mixing
- Cuisine: Southern
Nutrition
- Serving Size: 1 cup (150g)
- Calories: 200
- Sugar: 10g
- Sodium: 350mg
- Fat: 15g
- Saturated Fat: 2g
- Unsaturated Fat: 12g
- Trans Fat: 0g
- Carbohydrates: 18g
- Fiber: 2g
- Protein: 2g
- Cholesterol: 5mg

Leave a Comment