The aroma of grilled chicken wafting through the air on a warm summer evening is nothing short of magical. It’s not just a meal; it’s an experience that brings people together around the table, sharing stories and laughter, with the sun setting in the background. There’s something about the charred, smoky flavor of chicken perfectly cooked on the grill that creates an utterly intoxicating atmosphere. When I think about my favorite summer memories, they often revolve around this Grilled Chicken Breast recipe—each bite bursting with vibrant flavors from a delightful marinade that dances on your palate. Trust me when I say, this isn’t just any grilled chicken; it’s a symphony of flavors that transforms a simple dish into something profoundly satisfying.
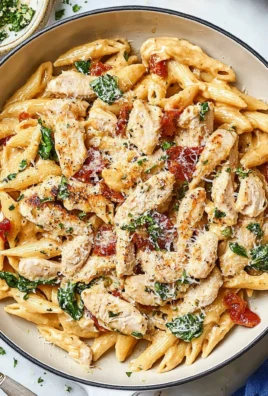
The beauty of grilled chicken lies not only in its deliciousness but also in its versatility. I’ve always been captivated by how it can complement so many dishes—from light salads to hearty pasta plates, making it a staple for family gatherings and backyard barbecues alike. You can serve it alongside a refreshing cucumber tomato salad or toss slices into your favorite pasta salad for a quick weeknight meal. The possibilities are endless! And let me assure you, this recipe will become your go-to for juicy, flavorful grilled chicken every time.
Grilled Chicken Breast: A Summer Delight
Now that I’ve painted you a picture of why this recipe holds such significance for me, let’s dive into the heart of it—the cooking process itself! This Grilled Chicken Breast recipe is straightforward yet packed with flavor, thanks to an incredible marinade that lifts the chicken to new heights. Let’s embark on this culinary journey together!
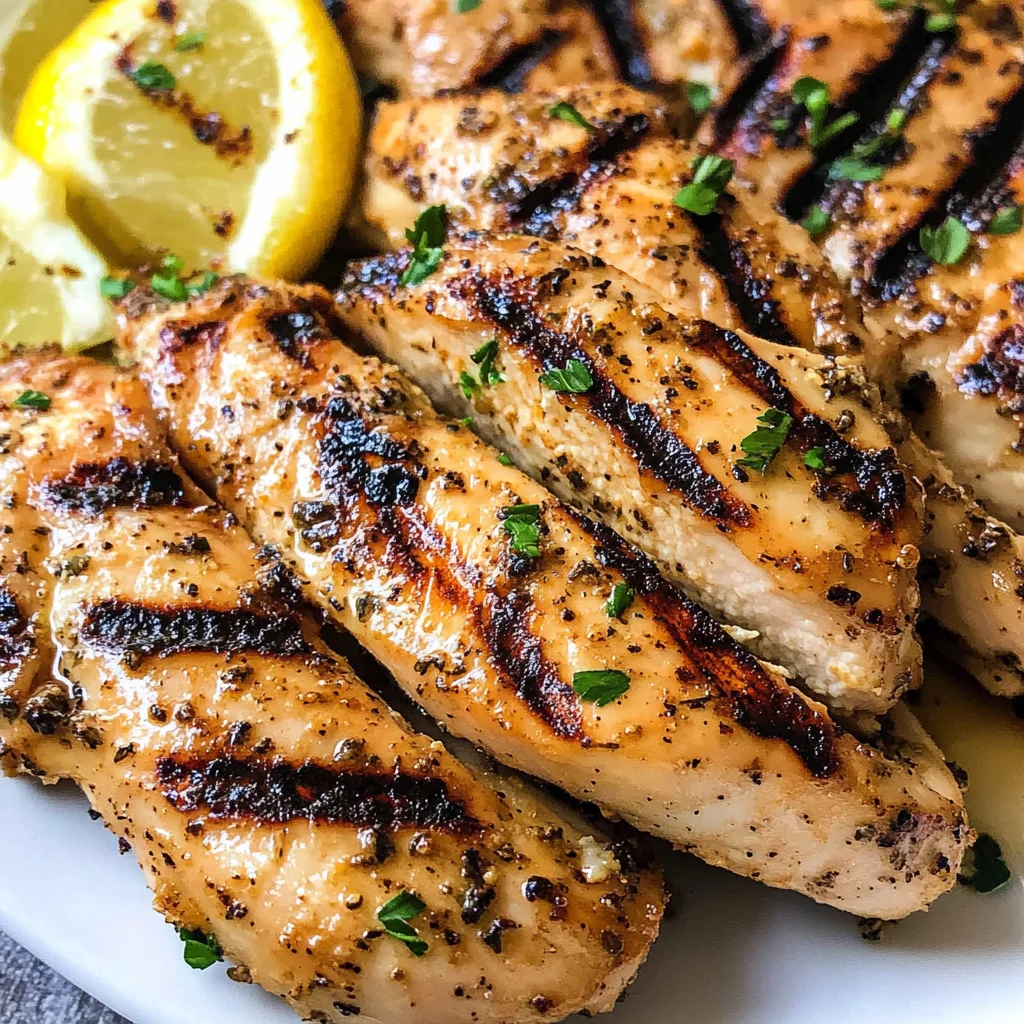
Ingredients:
As we gather our ingredients for this delectable dish, remember that each component plays a vital role in creating something truly extraordinary. So let’s explore what we need!
- ¼ cup olive oil: Often referred to as liquid gold, olive oil is essential not only for adding moisture but also for imparting rich flavor to our marinade. It helps create that luscious mouthfeel we all love while acting as a carrier for the other flavors—especially the garlic and lemon juice. When choosing olive oil, look for extra virgin varieties as they have higher quality and more robust taste profiles. Plus, they boast heart-healthy fats that are simply good for you!
- ¼ cup fresh lemon juice: Freshly squeezed lemon juice adds brightness and acidity to our marinade—elements that are crucial in balancing flavors and tenderizing the chicken as it marinates. The citrus notes cut through richness and elevate every bite! Using fresh lemons instead of bottled juice ensures maximum flavor impact; trust me on this one! The zest from the lemon can also be added into the mix if you’re feeling adventurous.
- 3 cloves garlic (minced): Garlic is where things get exciting! Its pungent aroma transforms during cooking, becoming sweet and mellow while still adding depth to our dish. Mincing fresh garlic releases its natural oils and juices, infusing our marinade with bold flavor. If you’re a garlic lover like me, feel free to add an extra clove or two—it’s hard to go wrong here!
- 1 teaspoon dried oregano: Oregano brings an earthy undertone that complements our other ingredients beautifully. It has hints of minty freshness and pairs wonderfully with grilled meats, adding that essential Mediterranean flair. If you have fresh oregano on hand, I encourage you to use it instead—just double the amount since fresh herbs are less potent than dried ones.
- ¼ teaspoon chili powder: A touch of chili powder adds warmth without overwhelming heat—a perfect way to introduce layers of flavor without setting taste buds ablaze! It enhances the overall experience by offering subtle smokiness that harmonizes with the grill marks we’ll achieve later.
- ½ teaspoon salt: Salt is non-negotiable when enhancing flavors in cooking—it draws out moisture while ensuring every bite is seasoned perfectly. This ingredient elevates all the others by intensifying their natural tastes without being overpowering.
- ½ teaspoon pepper: Freshly cracked black pepper adds aromatic spice and depth to our dish; it’s essential for creating balance among the other flavors present in our marinade. Just imagine biting into perfectly seasoned chicken bursting with flavor thanks to this simple addition!
- 4 boneless, skinless chicken breasts (about 2 pounds): The star of our show! Choosing boneless skinless breasts guarantees even cooking and allows for easy slicing post-grilling—perfect for salads or pasta dishes! When selecting your chicken at the market, opt for pieces with firm texture and no discoloration; freshness is key here.
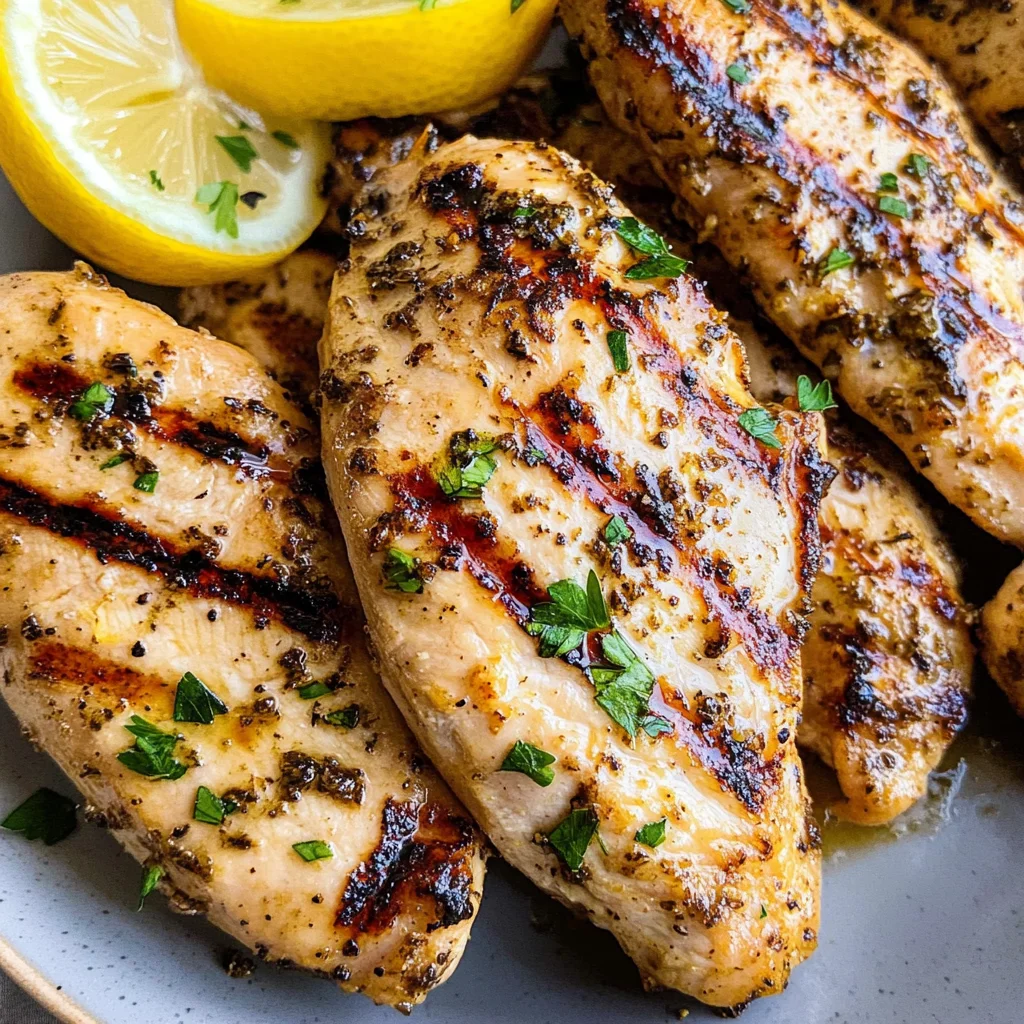
Equipment You’ll Need:
Having the right tools makes all the difference when crafting something wonderful in your kitchen or outdoors at the grill. While these items aren’t ingredients themselves, they’re essential partners in bringing your culinary vision to life.
- Grill (gas or charcoal): Your trusty grill serves as both heat source and flavor enhancer—a good quality grill ensures even cooking while imparting those coveted smoky notes we love so much. Whether you prefer gas or charcoal depends on your personal preference; gas grills offer convenience while charcoal delivers more intense flavors due to its smoke-producing capabilities.
- Zip-top plastic bag: This simple tool is perfect for marinating your chicken without mess or fuss! The bag allows you to thoroughly coat each piece with marinade while minimizing cleanup time afterward—an absolute win-win situation.
- Meat mallet or rolling pin: Pounding out those chicken breasts ensures even thickness during cooking—a crucial step for avoiding dry spots and achieving juicy results! If you don’t have either tool handy, a heavy skillet will work just fine too—don’t be afraid to give it some love!
- Whisk: A whisk is essential when combining our marinade ingredients smoothly—instead of using a fork (which may take longer), whisking yields better emulsification so every bite bursts with flavor.
Now that we have all our ingredients and tools ready, let’s move on to preparing this beautiful Grilled Chicken Breast!
Step 1: Create Your Flavorful Marinade
To kick things off, grab yourself a small bowl and combine that luxurious olive oil with freshly squeezed lemon juice, minced garlic, oregano, chili powder, salt, and pepper. Whisk them together until fully combined—you want those flavors to meld beautifully! This process not only blends everything seamlessly but also encourages emulsification between oil and acid which coats each piece of chicken evenly once marinated. As you whisk away, take a moment to breathe in those aromatic scents filling your kitchen; it’s these little moments that make cooking truly special!
Step 2: Prepare Your Chicken Breasts
Once your marinade is ready—and believe me when I say it smells divine—it’s time to prepare your chicken breasts so they cook evenly on the grill! Place each breast inside a zip-top plastic bag and pound them gently until they reach about ½-inch thickness using either a meat mallet or rolling pin—not too thin though; we want juicy perfection here! This technique—known as “pounding”—helps break down muscle fibers allowing quicker marination while ensuring uniform cooking throughout each piece later on.
Step 3: Marinate Like You Mean It
Now comes one of my favorite parts—marinating! Pour that luscious marinade into your bagged chicken then seal tightly before giving it several gentle turns ensuring every inch gets coated generously (this step is crucial!). Place this flavorful bundle into a baking dish just in case there are any leaks during refrigeration—you wouldn’t want any sticky messes later! Pop it into your refrigerator now allowing at least 30 minutes but preferably up to 2 hours if time permits—the longer time allows deeper infusion leading towards elevated taste sensations later on.
Step 4: Preheat Your Grill
While your chicken absorbs all those delightful flavors from its cozy marinade bath—it’s time we turn our attention towards preheating your grill! Clean those grates using either high heat or wire brush ensuring no leftover bits remain from previous cooks (this step sets us up nicely). Oil those grates lightly before turning up heat medium-high aiming between 375°F – 450°F (190°C – 232°C)—this temperature range will sear beautifully while locking moisture during grilling session ahead.
Stay tuned as we continue crafting this delightful Grilled Chicken Breast together—it only gets better from here!
Step 5: The Art of Grilling – Sealing in Juices and Flavor
Now that we have our beautifully marinated chicken breasts, it’s time to move on to the grilling phase, which is where the magic truly happens. Start by preheating your grill to a medium-high heat, around 375-450 degrees F. This temperature range is absolutely paramount for achieving those gorgeous grill marks while ensuring that the chicken cooks evenly throughout. If you’re using a charcoal grill, allow the coals to turn ashy white before placing the chicken on; this indicates that the heat is just right. For gas grills, simply ignite them and let them heat up for about 10-15 minutes. Trust me on this: giving your grill a good preheat not only makes for beautiful sear marks but also helps in preventing sticking.
Once everything is nice and hot, gently oil your grill grates with a paper towel dipped in olive oil (use tongs to avoid burns!). This step may seem small but it creates a non-stick surface that ensures our chicken releases easily when it’s beautifully charred. Remove the chicken from the marinade—don’t worry if a little clings on; it adds to the flavor—and lay those breasts onto the grill grate. You’ll hear an intoxicating sizzle as they hit the heat—a sound that is music to any cook’s ears! Grill each side for about 5-8 minutes. Why this specific timing? It allows for a proper caramelization process to occur—the sugars in the marinade will start to brown and create that heavenly crust we all crave.
Step 6: The Flip – Achieving Perfect Grill Marks
Ah, flipping your chicken! This step can feel so satisfying, like turning over a new leaf in your cooking journey. After about 5-8 minutes of grilling one side, check for those enticing grill marks; they should look deep golden brown and slightly caramelized. When you flip the chicken, be gentle—avoid piercing it with forks or knives, as this can release precious juices that keep our grilled chicken breast moist and tender. Instead, use tongs for a careful flip.
As you place the other side down, you’ll want to monitor the internal temperature closely; using an instant-read thermometer is key here! You’re aiming for an internal temperature of 165 degrees F at its thickest part. If you don’t have one handy, another method is to cut into the thickest part of one breast—if the juices run clear and there’s no pinkness in sight, you’re golden! Keep an eye out during this second grilling phase; it might require less time than the first side depending on how well your grill retains heat. Remember not to rush this step; patience will reward you with juicy perfection!
Step 7: Resting – The Non-Negotiable Secret
After those beautiful chicken breasts are grilled to perfection, it’s crucial not to skip straight to slicing. This resting period is absolutely essential! Let your grilled chicken sit for about 5 minutes before cutting into it. During resting time, something magical happens—juices redistribute within the meat as it cools slightly. Cutting too soon means you risk losing all those deliciously concentrated flavors and moisture into your plate instead of keeping them locked inside each succulent bite.
This resting period allows for carryover cooking as well—meaning even after removing from direct heat, residual heat continues cooking through your chicken until it reaches that ideal temperature without drying out. You’ll know it’s ready when you see tiny glistening beads forming on its surface—a sign of juiciness waiting to be released upon slicing! I promise you; these few extra minutes are worth every second because they transform ordinary grilled chicken into something truly extraordinary.
Step 8: Slicing and Serving – A Feast for All Senses
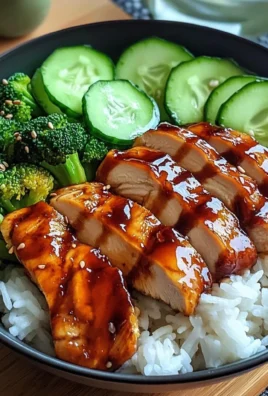
Finally, it’s time for my favorite part: slicing into that perfectly rested grilled chicken breast! Using a sharp knife, make sure to cut against the grain; this ensures tenderness with every bite rather than chewing through fibrous meat. As you slice through—the sound is almost meditative—you’ll witness glistening juicy layers revealing themselves with each cut.
At this point, consider how you’ll serve your delectable creation; perhaps alongside colorful pasta salad adorned with fresh herbs or atop a vibrant cucumber tomato salad bursting with summer flavors? The beauty of grilled chicken breast lies in its versatility—it can be dressed up or down based on your mood or occasion! I love tossing some freshly chopped herbs over top or drizzling with a zesty vinaigrette right before serving—it adds an extra layer of flavor that’s utterly intoxicating.
Final Thoughts – Your Grilled Chicken Journey
Congratulations on crafting such a delightful dish! Cooking grilled chicken breast isn’t just about following steps—it’s about embracing each moment spent nurturing flavors and textures until they harmonize beautifully together on your plate. I hope you find joy in every bite shared around your table with loved ones because food has a unique way of bringing us closer together! So next time summer rolls around or any day feels right for grilling, remember these tips and techniques—your friends and family will surely be asking for seconds!
As you embark on this culinary adventure again and again, know that each time can be better than the last with practice and passion at its core. Happy grilling!
Storage and Enjoyment Tips for Your Grilled Chicken Breast
Now that you’ve grilled up this stunning Grilled Chicken Breast, it’s time to revel in the deliciousness you’ve created! But let’s not forget about the little nuggets of joy that come from enjoying leftovers. Trust me, there’s something so satisfying about knowing you have succulent grilled chicken waiting for you, whether it’s for a quick lunch or a cozy dinner. The key is to store it properly so that every bite remains as juicy and flavorful as the first.
Storing Leftover Grilled Chicken Breast
When it comes to storing your leftover Grilled Chicken Breast, opt for airtight containers—glass containers are my favorite because they don’t retain odors and keep your chicken fresh for longer. Just make sure to let the chicken cool down completely before sealing it up; this prevents condensation from forming inside the container, which can lead to soggy bites of chicken. If stored correctly in the refrigerator, your grilled chicken will stay deliciously fresh for up to 4 days. Want a pro tip? Place a slice of bread in the container with the chicken! It absorbs moisture and helps keep your chicken from drying out, keeping it tender and mouthwatering even after a few days. When you’re ready to enjoy those leftovers, simply reheat them gently in the oven or on a skillet over medium heat until warmed through; they’ll taste almost as good as when they were freshly grilled!
Freezing Grilled Chicken Breast for Later
Now, if you find yourself with more grilled chicken than you can devour in a few days (which, let’s be honest, can happen!), freezing is an excellent option. To freeze your Grilled Chicken Breast, allow it to cool completely before wrapping each piece tightly in plastic wrap or aluminum foil—this step is crucial for preventing freezer burn! Then, place the wrapped chicken in a freezer-safe bag or container, squeezing out as much air as possible before sealing. This way, your grilled masterpiece will stay safe in the freezer for up to 3 months without losing its flavor or texture. When you’re ready to use it again, just thaw it overnight in the refrigerator and then reheat it gently on the grill or stovetop; this method will help retain some of that incredible juiciness and flavor. The convenience of having perfectly cooked grilled chicken on hand makes meal prep so much simpler and allows you to whip up delicious meals on busy nights!

Grilled Chicken Breast
- Total Time: 25 minutes
- Yield: Serves approximately 4 people 1x
Description
Grilled Chicken Breast is a summertime staple that beautifully captures the essence of outdoor cooking. With its smoky, charred exterior and juicy interior, this dish is more than just a meal—it’s an experience that brings family and friends together. Marinated in a vibrant blend of olive oil, fresh lemon juice, garlic, and herbs, each bite bursts with flavor. This recipe is incredibly versatile, allowing you to pair the grilled chicken with refreshing salads or hearty pasta dishes. Whether you’re hosting a barbecue or enjoying a casual weeknight dinner, this Grilled Chicken Breast will surely satisfy your taste buds and create lasting memories.
Ingredients
- ¼ cup olive oil
- ¼ cup fresh lemon juice
- 3 cloves garlic (minced)
- 1 teaspoon dried oregano
- ¼ teaspoon chili powder
- ½ teaspoon salt
- ½ teaspoon pepper
- 4 boneless, skinless chicken breasts (about 2 pounds)
Instructions
- In a bowl, whisk together olive oil, lemon juice, minced garlic, oregano, chili powder, salt, and pepper to create the marinade.
- Place chicken breasts in a zip-top bag and pound to about ½-inch thickness for even cooking.
- Pour the marinade over the chicken, seal the bag tightly, and refrigerate for at least 30 minutes (up to 2 hours).
- Preheat your grill to medium-high heat (375-450°F).
- Oil the grill grates lightly before placing marinated chicken on them.
- Grill each side for about 5-8 minutes until internal temperature reaches 165°F.
- Let the chicken rest for 5 minutes before slicing and serving.
- Prep Time: 10 minutes
- Cook Time: 15 minutes
- Category: Main
- Method: Grilling
- Cuisine: American
Nutrition
- Serving Size: 1 serving
- Calories: 330
- Sugar: 0g
- Sodium: 420mg
- Fat: 15g
- Saturated Fat: 2g
- Unsaturated Fat: 11g
- Trans Fat: 0g
- Carbohydrates: 2g
- Fiber: 0g
- Protein: 50g
- Cholesterol: 130mg
Leave a Comment