Is there anything more heartwarming than the thought of spreading a luscious, homemade jam on a warm slice of toast? The experience of crafting your own Apricot Jam goes beyond just cooking; it’s about weaving together memories with the sweet fragrance of ripe apricots and the vibrant zest of freshly squeezed lemon juice. When you embark on this delightful journey, you’re not only preserving fruit; you’re capturing the very essence of summer in a jar—an alchemy that transforms simple ingredients into something utterly intoxicating. As you stir and simmer, the kitchen fills with a symphony of flavors, beckoning everyone to gather around and share in the magic. This is what makes Apricot Jam more than just a condiment; it’s an experience that warms the heart and nourishes the soul.
When I think back to my childhood summers spent in my grandmother’s kitchen, I can still hear her laughter mingling with the bubbling sounds of fruit cooking on the stove. It was during these sweet moments that she taught me not just how to make Apricot Jam but also how to appreciate each ingredient for its unique contribution. The vibrant orange hues of ripe apricots glistening in sunlight, their sweet aroma filling the air—it’s these sensory experiences that make this recipe so special. Whether you’re making it for yourself or as a thoughtful gift for someone dear, this jam encapsulates love in every spoonful. Trust me when I say, once you’ve tasted homemade Apricot Jam, you’ll never look at store-bought versions the same way again.
Apricot Jam: A Taste of Summer Preserved
There’s something truly magical about making your own jams and preserves, especially when it involves fresh apricots bursting with flavor. This recipe is straightforward yet incredibly rewarding, requiring just three main ingredients: fresh apricots, sugar, and lemon juice. With no pectin needed, you’ll find that nature provides all the necessary sweetness and natural gelling power thanks to those lovely fruits. So roll up your sleeves and get ready to create something wonderful to enjoy long after those sunny days have faded.
Ingredients:
As we prepare our delightful Apricot Jam together, let’s take a moment to appreciate each ingredient that will play its role in this beautiful creation.
-
2.5 kg (5.5 lb) fresh apricots – prepared weight. Selecting ripe apricots is paramount for achieving an exceptional jam that sings with flavor. Look for apricots that are slightly soft to the touch with a fragrant aroma—that’s when they’re at their peak ripeness! If they feel too firm or lack fragrance, they may not yield enough sweetness or juiciness. Remember to remove any blemished or overly bruised fruit before chopping them up—this ensures your jam remains pure and delicious!
-
1/4 cup (60 ml) water – This ingredient might seem simple, but it’s absolutely crucial as it helps create steam while cooking down the apricots and prevents them from sticking to the bottom of your pot. The water allows for an even cook without burning, ensuring those precious apricots release their natural juices beautifully.
-
1/4 cup (60 ml) freshly squeezed lemon juice – Freshly squeezed lemon juice brings an invigorating brightness that balances out the sweetness of the sugar and apricots perfectly. It also helps maintain that gorgeous bright color in your jam while acting as a natural preservative due to its acidity. Don’t even think about opting for bottled juice here—freshness is key!
-
1.8 kg (4 lb) granulated sugar – Sugar not only sweetens our jam but also plays a vital role in preserving it by inhibiting bacterial growth during storage. While it may seem like a lot at first glance, sugar is what transforms those lovely apricots into rich “liquid gold.” If you’re looking for alternatives due to dietary preferences or health reasons, feel free to experiment with natural sweeteners like agave syrup or honey—just be sure to adjust quantities accordingly.
Equipment You’ll Need:
Gathering the right tools before diving into this culinary adventure will make everything smoother and much more enjoyable! Think of these pieces as essential partners in creating something truly wonderful.
-
Large heavy-bottomed pot – A heavy-bottomed pot is non-negotiable when making jam; it ensures even heat distribution which prevents scorching while encouraging even cooking throughout your mixture.
-
Wooden spoon – Using a wooden spoon allows you to stir gently without damaging your pot’s surface while providing perfect leverage for mixing all those delectable ingredients together.
-
Food thermometer – This handy tool will help ensure you’re reaching just the right temperature for your jam to set properly while giving you peace of mind throughout the cooking process.
-
Jars with lids – Opt for clean canning jars (preferably glass) as they are perfect for preserving homemade jams! Ensure they’re sterilized beforehand by boiling them briefly in hot water—this step is crucial for preventing bacteria from spoiling your delightful creation.
Now that we’ve gathered our ingredients and equipment, it’s time to transform those beautiful apricots into something truly extraordinary!
Step 1: Preparing Your Apricots
Start by giving those lovely apricots a good wash under cool running water—this removes any dirt or pesticides lingering on their skins. Once clean, slice them in half and remove the pits carefully; I find using a paring knife makes this easier but always be cautious! After pitting them all, chop those halves into smaller pieces; aim for roughly one-inch chunks—this helps ensure even cooking later on which contributes significantly to texture!
The reason we chop them is two-fold: first, it maximizes surface area which aids in releasing their natural juices as they cook down; second, smaller pieces break down more quickly during simmering so you don’t end up with big chunks floating around in your finished jam unless that’s your preference! You should see their beautiful orange flesh glistening as you work—it’s such an inviting sight!
Step 2: Combining Ingredients
In your heavy-bottomed pot over medium heat, combine those freshly chopped apricots along with 1/4 cup of water—a gentle introduction ensures they start releasing their juices slowly without burning immediately on contact with high heat! Stir occasionally until everything begins getting cozy (think about 5 minutes). You’ll notice how fragrant things become almost instantly; what a joy!
Once they’ve softened slightly and released some juices into the mix (you’ll see evidence within minutes), it’s time to add our star player—the sugar! Sprinkle it generously over your softened apricot mixture along with that zesty lemon juice we prepared earlier—it creates an utterly intoxicating aroma as everything melds together beautifully.
Step 3: Cooking Down Your Mixture
Bring everything up to a gentle boil while stirring continuously—you want this mixture bubbling evenly without any risk of scorching at this stage! Maintain medium-high heat until it reaches approximately 105°C (221°F); this temperature allows proper gelling without overcooking or caramelizing any sugars involved here which would alter flavor profiles negatively!
Continue stirring frequently so nothing sticks stubbornly at bottom levels where heat concentrates most fiercely; patience is critical here! Letting this simmer away takes about 40–55 minutes until thickened significantly—you’ll know it’s ready when drizzling some onto a chilled plate forms distinct mounds rather than puddles spreading out everywhere!
Step 4: Jarring Your Delicious Creation
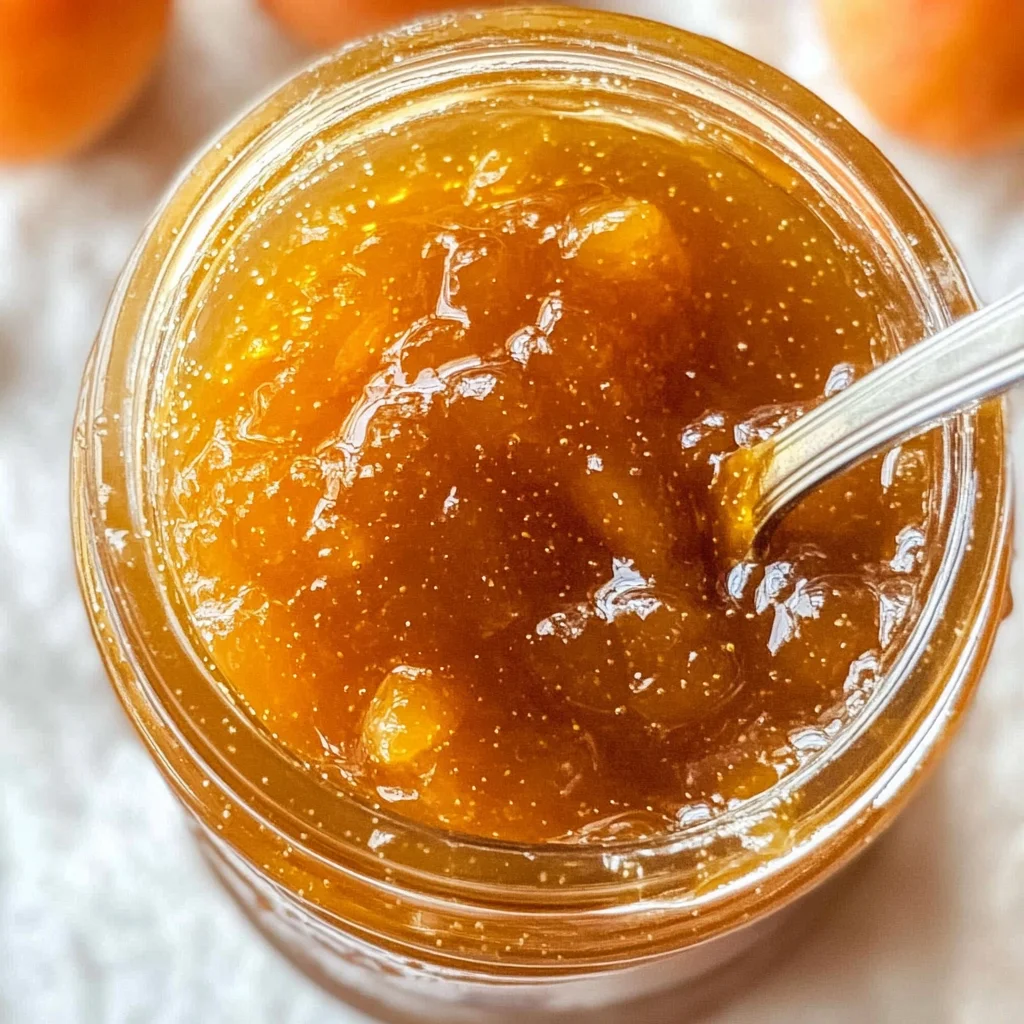
Once you’ve reached that glorious consistency reminiscent of molten amber sunshine captured within glass jars (trust me—you won’t want to miss this part!), remove from heat immediately—but not before taking several moments reveling in its beauty! Allow cooling slightly before transferring hot jam into prepped sterilized jars using either ladles or funnels depending upon preference—it could get messy otherwise!
Wipe any spills around jar rims carefully ensuring tight seals later during storage processes—we want every last drop preserved beautifully! Once cooled completely at room temp naturally overnight if possible then pop caps tightly sealing off what can only be described as pure joy awaiting enjoyment ahead!
With each jar filled brings forth thoughts about sharing these treasures with loved ones over breakfast tables adorned warmly by laughter shared together while savoring each bite paired alongside buttery croissants or biscuits alike—it truly doesn’t get better than this!
Conclusion:
As we wrap up our delightful journey through creating this classic Apricot Jam together, I sincerely hope my excitement resonates with you! There’s something profoundly satisfying about transforming fresh apricots into this golden elixir that captures their essence so perfectly. The delicate balance of sweetness from the fruit mingled with the zesty brightness of lemon juice creates an unforgettable flavor combination that elevates not just your palate but also your spirit. Each spoonful is not merely jam; it’s a celebration of summer’s bounty—a treasure trove waiting patiently for you to uncover.
This recipe truly deserves its place in your kitchen because it embodies joy—not just in taste but also in the experience of making it. Picture yourself gathering ripe apricots at their peak, feeling their warmth against your skin as you prepare them with love and care. Whether you’re enjoying it during leisurely breakfasts with loved ones or using it as a vibrant filling for baked goods at special occasions, each jar holds the promise of countless joyful moments waiting to be shared.
Imagine savoring one with freshly toasted bread slathered in creamy butter—oh my goodness! For an afternoon pick-me-up, spread some on scones alongside clotted cream; I promise you it’s utterly divine! And if you’re feeling particularly adventurous, try using it as a glaze over roasted vegetables or meats—it adds an unexpected twist that’s simply extraordinary!
Feeling inspired? This recipe is wonderfully adaptable too! Want to mix in some vanilla bean for warmth? Go right ahead! Or what about adding some finely chopped herbs like basil or mint for an aromatic surprise? It’s these little variations that allow your creativity to shine through while still holding true to that classic flavor profile we know and love. So grab those apricots when they’re ripe and ready, dive into this delightful process, and share your own experiences with me—I can’t wait to hear how your kitchen transforms into a haven filled with sweet aromas and cherished memories!
Apricot Jam
- Total Time: 1 hour 25 minutes
- Yield: Approximately 50 servings 1x
Description
Discover how to make delicious homemade Apricot Jam with fresh fruit! Enjoy this sweet delight all year round—try it today!
Ingredients
- 2.5 kg (5.5 lb) fresh apricots
- 1/4 cup (60 ml) water
- 1/4 cup (60 ml) freshly squeezed lemon juice
- 1.8 kg (4 lb) granulated sugar
Instructions
- Wash the apricots under cool running water and slice them in half to remove the pits. Chop into one-inch pieces.
- In a large heavy-bottomed pot, combine the chopped apricots, water, and lemon juice. Cook over medium heat for about 10 minutes until softened.
- Gradually stir in the granulated sugar and continue cooking until it reaches a gentle boil.
- Maintain the boil for 40–55 minutes while stirring frequently until thickened.
- Test for doneness by checking if it holds shape on a chilled plate; if ready, ladle into sterilized jars.
- Seal jars tightly and let cool completely at room temperature before storing.
- Prep Time: 30 minutes
- Cook Time: 55 minutes
- Category: Dessert
- Method: Canning
- Cuisine: Preserved Foods
Nutrition
- Serving Size: 1 serving
- Calories: 52
- Sugar: 13g
- Sodium: 0mg
- Fat: 0g
- Saturated Fat: 0g
- Unsaturated Fat: 0g
- Trans Fat: 0g
- Carbohydrates: 14g
- Fiber: 0g
- Protein: 0g
- Cholesterol: 0mg


Leave a Comment